|
BULB LOG 30 --- 23rd July 08
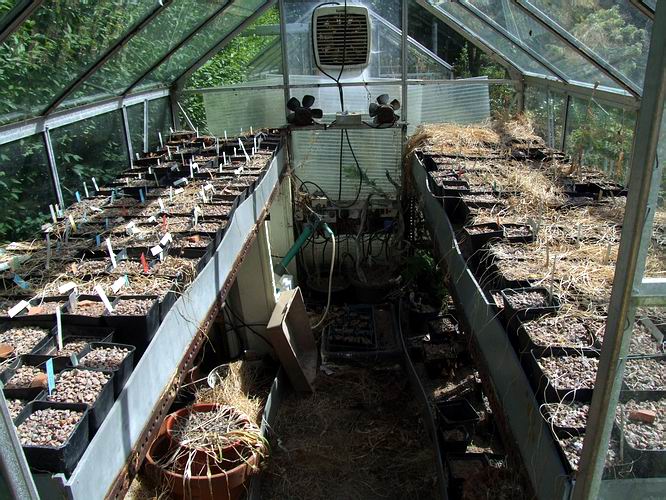
Bulb house
Normally by this time of year I am well through my bulb re-potting but as you can see I have hardly started in the bulb house.
Re potting
Part of the reason that I am leaving it a bit later is that there is not enough time for me to do everything that needs doing just now. I have made a good start on the smaller pots in the other glasshouse where I have re-potted over 200 pots already. I have learned from the ones I have already done that my new loam free compost formula- 2 parts sand, 2 parts grit and one part leafmould- is holding up very well and looks good for at least another year. I am not suggesting that it is best to repot only every second year; I still firmly believe that you get better results if you can re-pot every year, and I intend to get through as many as I can before September, but as long as your compost is good and you get your supplementary feeding regime correct you can get away with re-potting every second year.
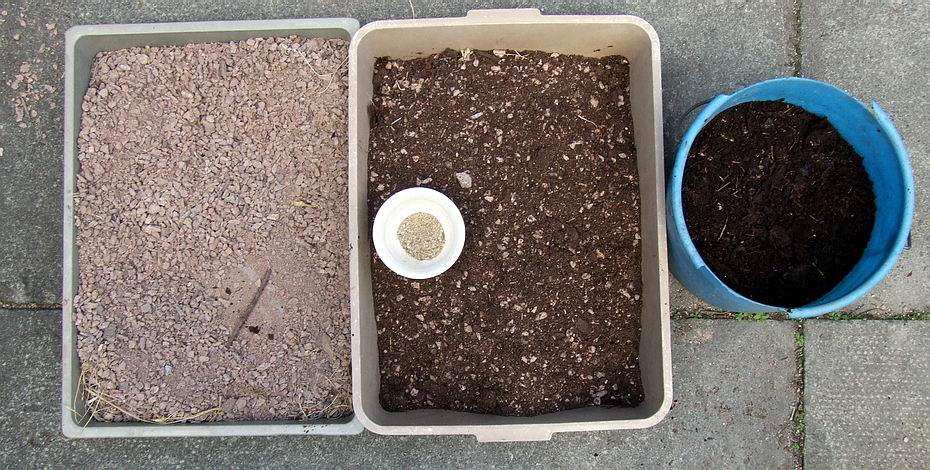
Compost for erythroniums
I have always been committed to recycling and I recycle much of the used potting compost. All the compost from those 200 pots that I have replanted is still good but I do not like to reuse it for the same genera again for two reasons. One is that it may contain harmful pathogens that could be passed to close relatives and the other more important consideration is that it may contain small bulbils that I have missed and these would contaminate the integrity of my stock. As this compost (above left) has been used for Narcissus, Crocus and Fritillaria there is no problem to use it for Erythronium and if a crocus or frit appears it will not be confused for an Erythronium and is easy to separate out. To improve the compost, I mix it with roughly equal parts of our own leaf mould (above right), add a little bone meal and I have a very nice humus rich but well drained compost (centre), ideal for Erythroniums.

Erythronium japonicum bulbs
I have made a start to re-pot my Erythronium frames and these are a few Erythronium japonicum bulbs. I am using the term bulb in its widest sense as I am still unclear if erythroniums are bulbs or corms - well actually I think that they are both at the same time as I discussed in a log last year. These are some of the most beautiful forms that I have and I am very keen to increase them vegetatively as well as by seeds. You will notice that like their relative E. dens canis, the remains of previous years' bulbs remain attached to the newly formed bulb forming what I call 'chains'.
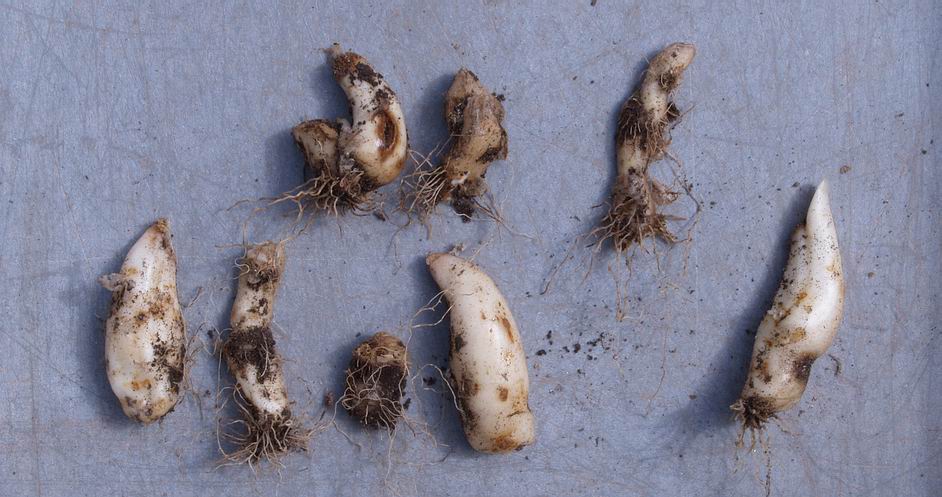
Erythronium japonicum bulbs chains removed
I have experimented before and discovered that if you remove these chains and split them into individual links each will form at least one new bulb. As long as they are attached to the dominant bulb these buds remain dormant but once the main bulb is removed they develop quickly.
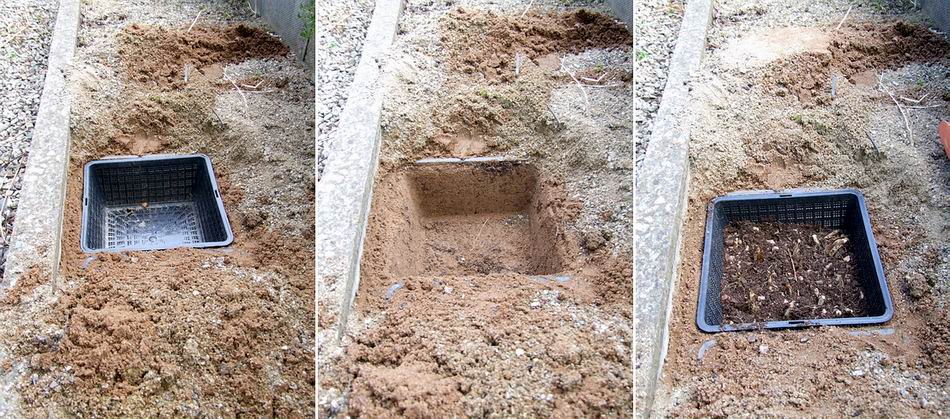
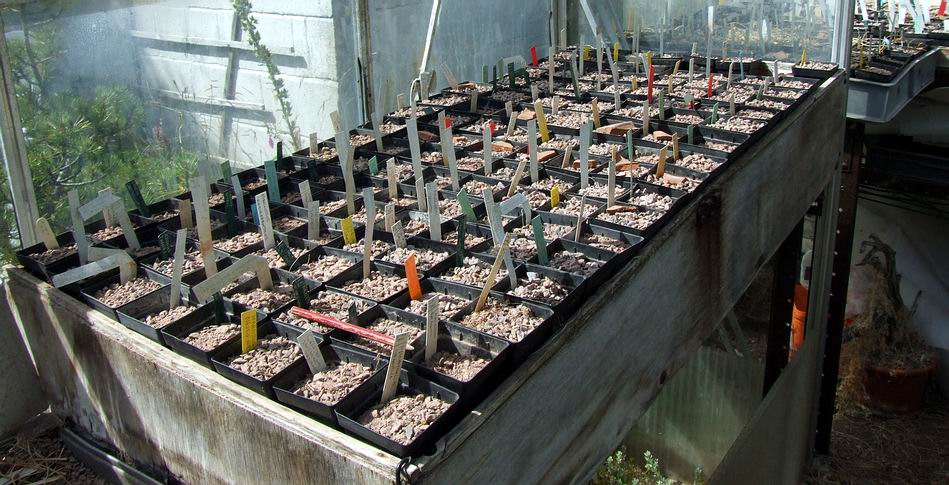
Sand plunge baskets
I wanted to get some of these Erythronium japonicum into a plunge basket in a sand bed so I lifted out a basket of E. revolutum which will be released into the garden to free up some sand plunge space. As I use a standard size of basket it is easy to slip the empty one in and plant the Erythronium bulbs.
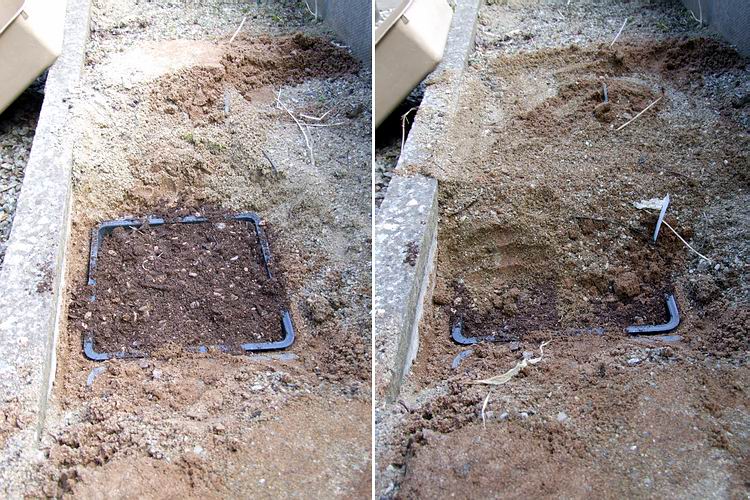
Sand plunge
Filling up the basket with the remixed compost, placing the label in covering it back over with about 7cms of sand completes the task - of course I have to repot every plunge basket this year since many did not get done last year.

Erythronium sibericum bulbs
Another group off to get a nice home in a similar basket in the sand plunge are these Erythronium sibericum bulbs.
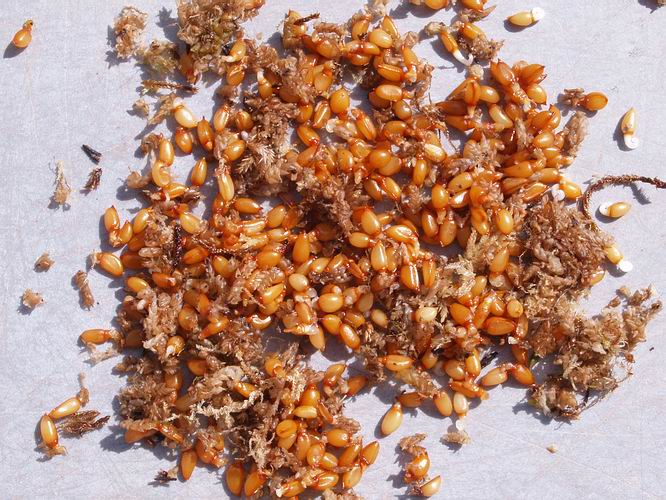
Erythronium sibericum ssp altaicum seeds
I was very lucky to get a lovely package from a friend of Erythronium sibericum ssp altaicum seeds, beautifully packaged in damp moss so they arrived as fresh as possible. I like to sow the seeds of E. sibericum, japonicum, caucasicum and dens-canis as fresh as possible. I also include E. americanum and albidum in this group for early sowing unlike the seeds of the Western North American species of Erythronium which I store dry until nearer September before sowing.
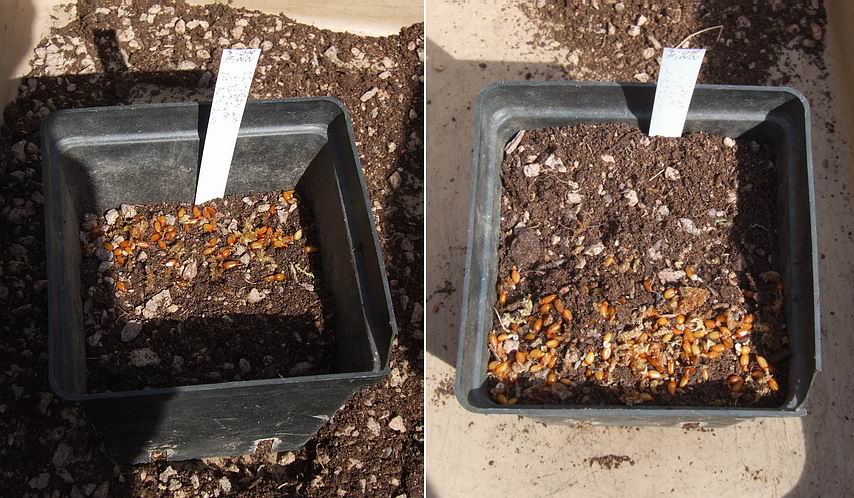
Sowing Erythronium sibericum ssp altaicum seeds
I am always going on about the depth at which to plant seeds so as to optimise your results and Erythroniums, despite the depth that their bulbs can go down to, need sown on the surface and just covered with a few centimetres of gravel if they are to germinate at all. However all the E dens-canis conglomerate, the Eurasian species are very different and because they have the appendage to attract ants to distribute them this would suggest that they can be sown successfully at depth. You can see above that I am still experimenting to find which method is best for these species. I have sown the half of the pot nearest the label half way down the pot and the other half on the surface and covered it with a layer of gravel - now I have to wait a few years to see the result.
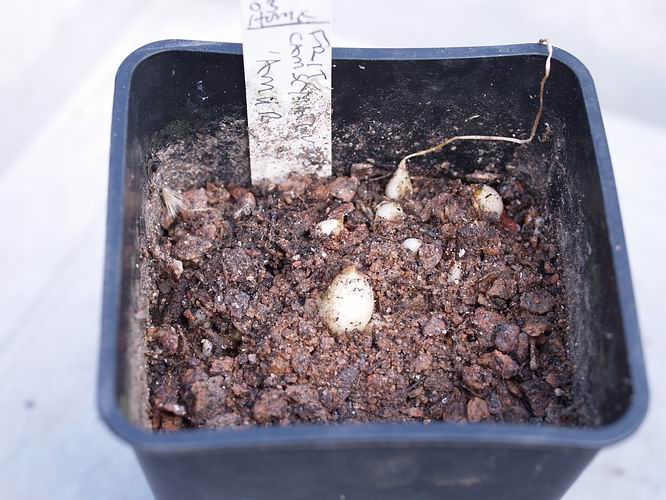
Fritillaria camschatensis seedlings
The other important lesson we can learn from the seedling bulbs is what depth they place themselves at. As I have often said I do not repot my seedling bulbs until after the third year of growth and when I do I always pay careful attention to the depth the young bulbs are at in the pot. These Fritillaria camschatensis seedlings are sitting on top of the compost just below the gravel layer. For years I thought that it was down to the birds that I kept finding my F. camschatensis bulbs that are panted in the garden lying on the surface so I made a hole and I planted them back in the ground. Then I left some undisturbed in baskets in a sand plunge - for a number of years they did not flower but then after a few years they started to flower and got better every year. When I checked what was going on the bulb had made their way up and were sitting on top of the compost just covered with the shallow layer of sand. For all those years I had been planting my Fritillaria camschatensis too deep and they did not like it
. I know that I am always saying that you should plant your bulbs deep and for many that is still best but for every rule there are exceptions and Fritillaria camschatensis is one. The other statement I keep making is that if you observe your bulbs carefully they will tell you how to grow them you just have to interpret the signs and act appropriately.

Erythronium taylori bulbs
One Erythronium I do like to repot every year is E. taylori. Apart from two pots of seedlings from these bulbs this is my entire stock of Erythronium taylori raised from seed collected at 1340m on Pilot Ridge in Tuolumne County and so I want to give it the best chance to build up.
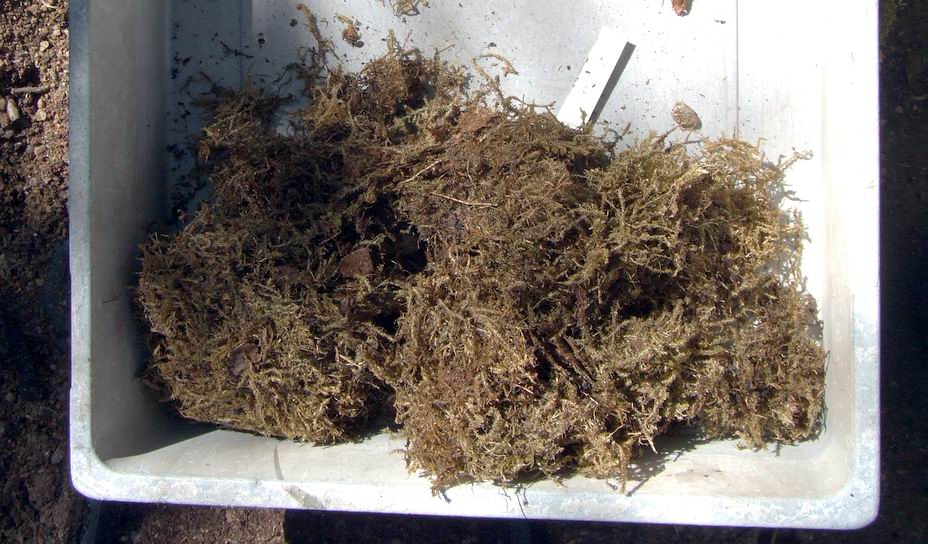
Damp moss
As Erythronium bulbs hate to dry out, whenever I am working with them I keep them covered with either a damp cloth or damp moss as above and I always get them planted back as quickly as possible.
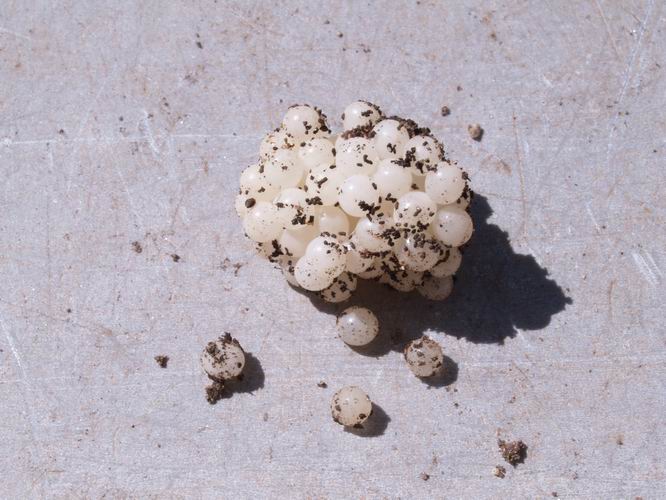
Rice grain bulb
When emptying out a pot of Erythronium seedlings I found this rice grain bulb - not an unusual event as I reuse the frit compost and rice grains are often missed.
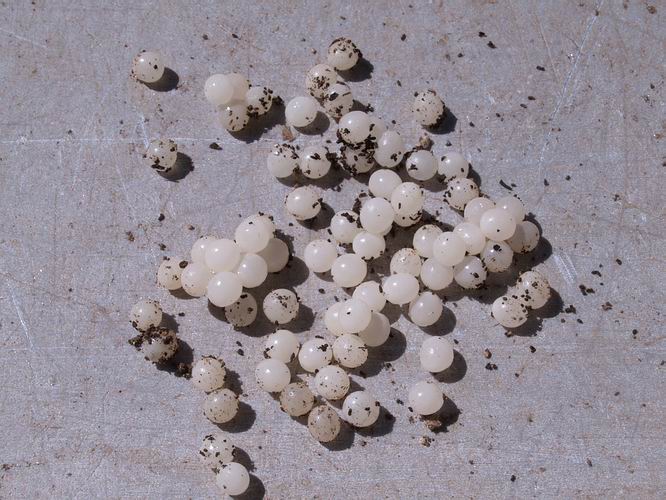
No: snails eggs
However this cluster is not rice grains but some newly deposited snail eggs.
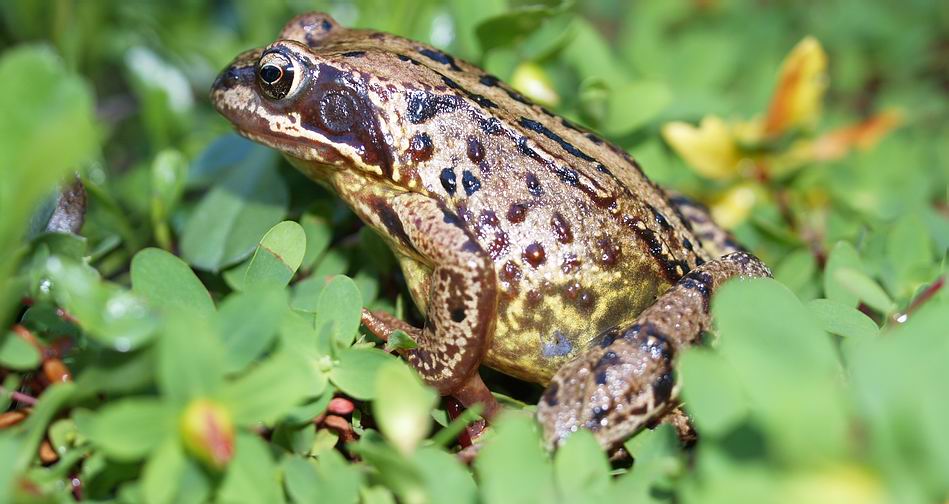
Frog in garden
Happily I know some one who likes them as well as the damp moss. We have a lot of 'puddocks' in our garden and every time you disturb the matt forming plants that hold the moisture one of these lovely creatures jumps out.
^ back to the top ^
|
