|
BULB LOG 38 --- 17th September 08
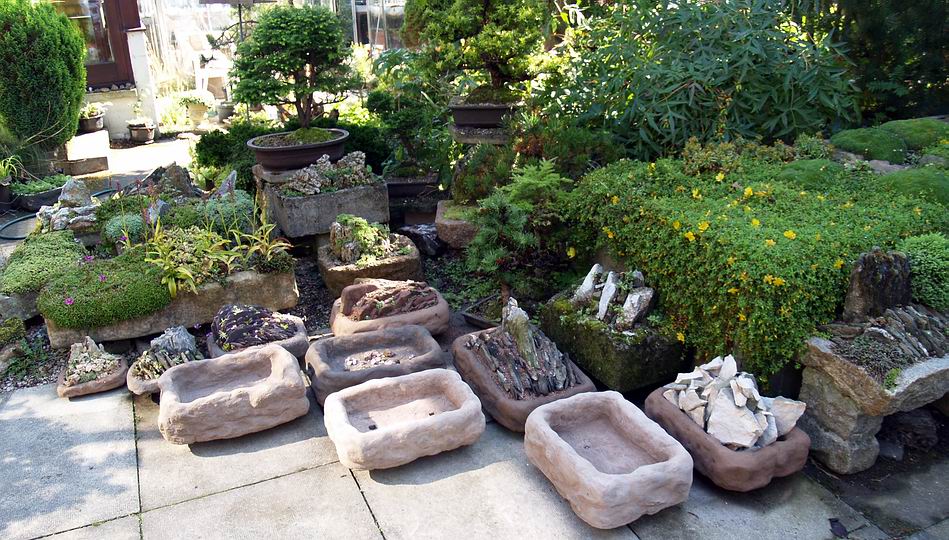
Troughs
Every so often I shift the emphasis of the Bulb log on to some of the other parts of the garden that I am working on - this week partly due to a number of requests I am devoting the bulb log to troughs.
Cement trough 1
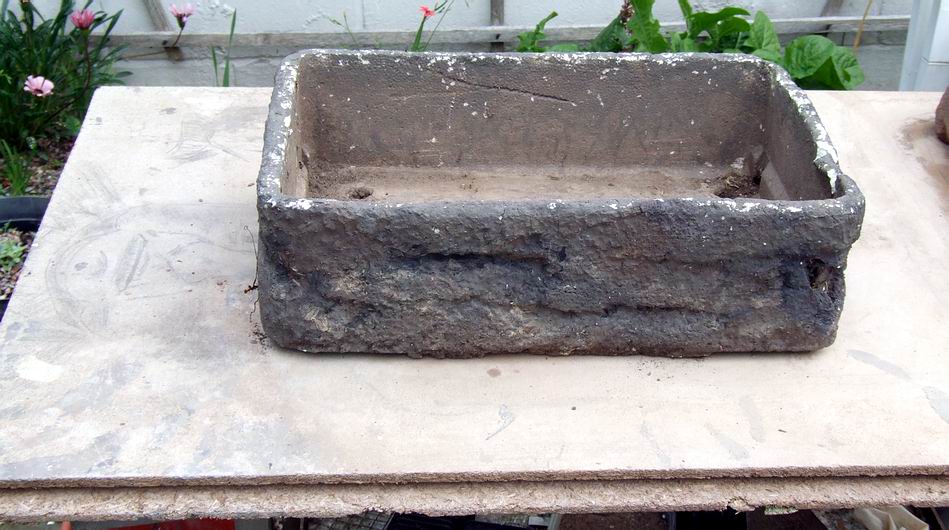
Many years ago I developed a method to convert a polystyrene fish box into a convincing looking trough. These were designed to be as light as possible so they could be taken to shows and displays and they still serve us well but I wanted some more robust and permanent troughs to add to our collection so I have been quietly experimenting for some months and have now come up with a new slant on an old method.
Cement trough 2
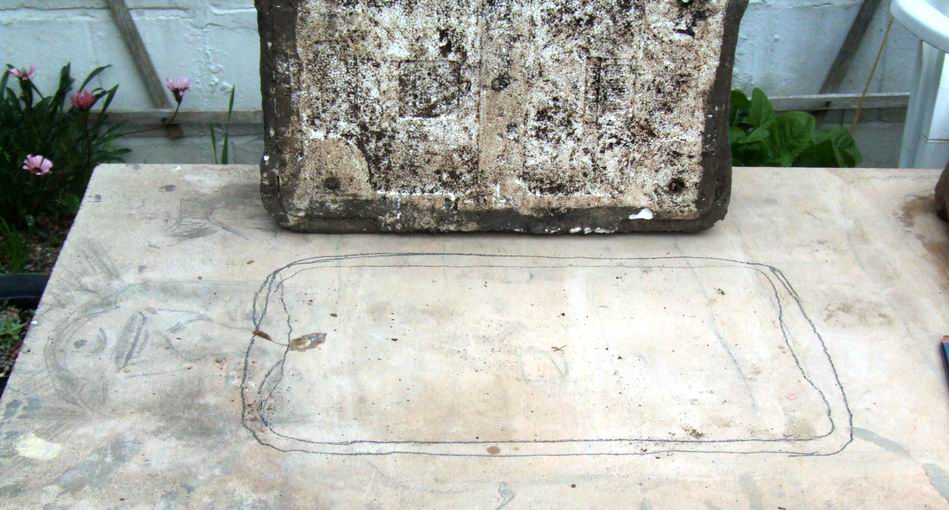
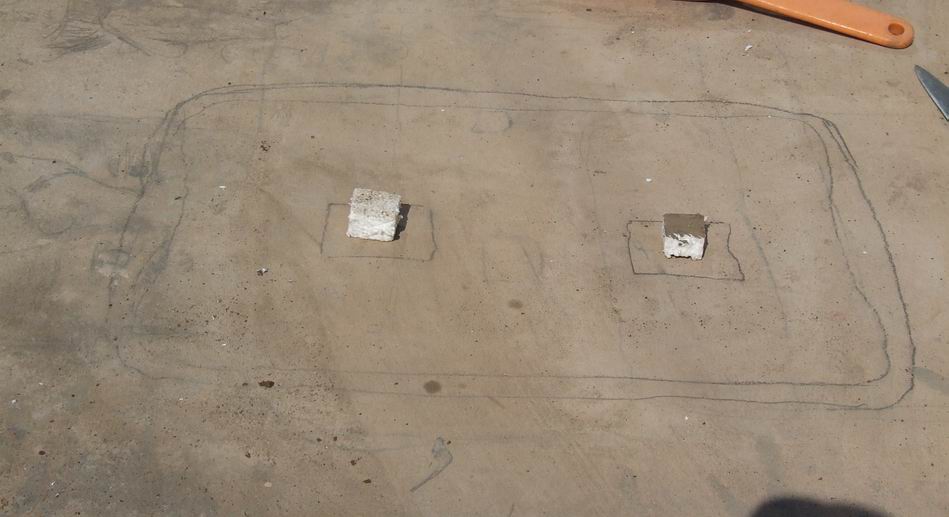
You need a solid flat board to work on and for the sake of your back is best raised up at a good height. The fish box does not need to be carved and painted like this one but I only have old painted ones at the moment. The first step is to draw a line around the box and then draw another line with your thumb between the box and the pencil to act as a guide for the wall thickness.
Cement trough 3
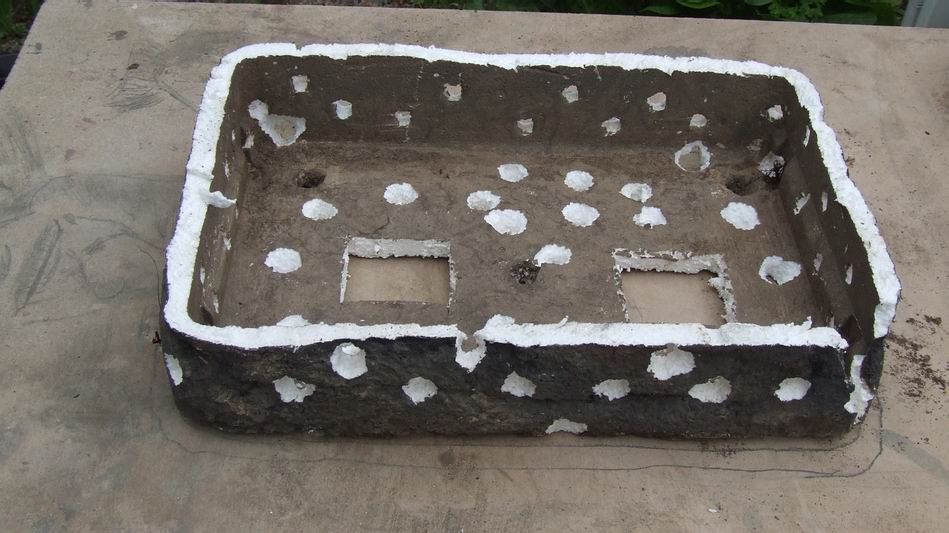
Now the new part of this method - previously many people have covered the box with wire mesh to key the cement on. I have done away with the wire by making lots of 1-2 cm holes all over the box which allows the cement to key itself through these holes. I also cut two square holes in the box where the drainage holes will be and draw a line round them onto the base board.
Cement trough 4
Now I cut some small bits of the polystyrene from the larger square just removed to form the drainage holes and place them inside the larger squares I have just cut. This method means that the drainage hole is fully surrounded by a good layer of cement and it also helps strengthen the base.
Sand cement mortar
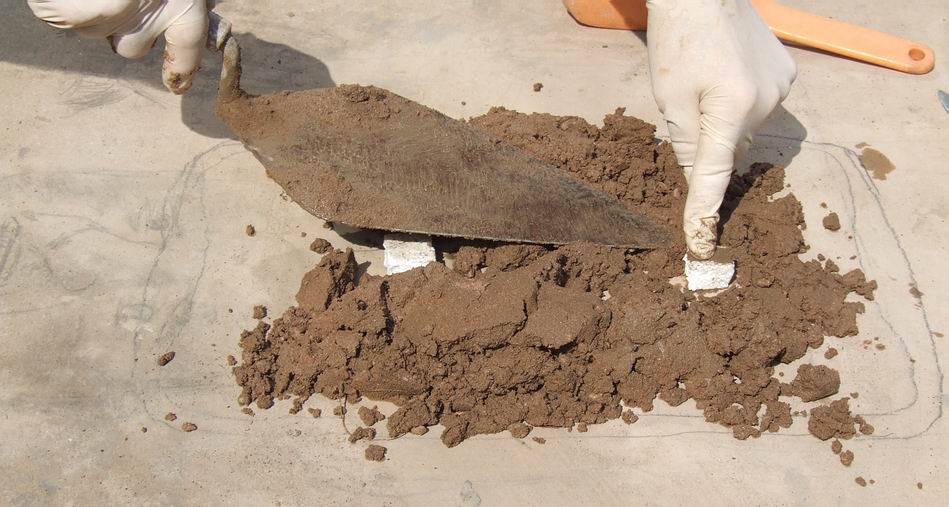
It is essential that you wear gloves to protect your hands when handling the cement: if you do not you will suffer severe skin damage.
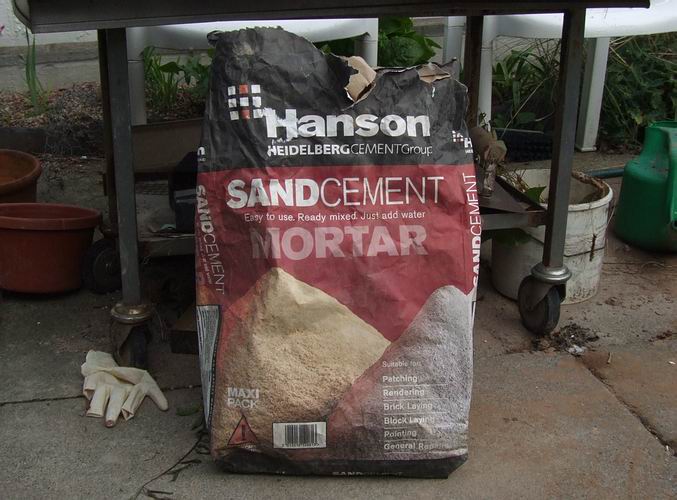
Now I start with my mix which is just sand and cement; I have tried numerous times over the last thirty years to make the hypertufa mixes by adding peat to the mixture but none of the troughs made with hypertufa have survived for long. The problem is that they are very porous and in the winters the moisture contained within the walls freezes and thaws so often that they eventually fall apart. All the ones I have made with a sand cement mix have survived and in time take on a good surface of moss and lichens. To keep things very simple I use the ready mixed mortar that you can buy at any large DIY store and one 25 kg bag will make two of the size of trough I am demonstrating here.
Cement trough 5
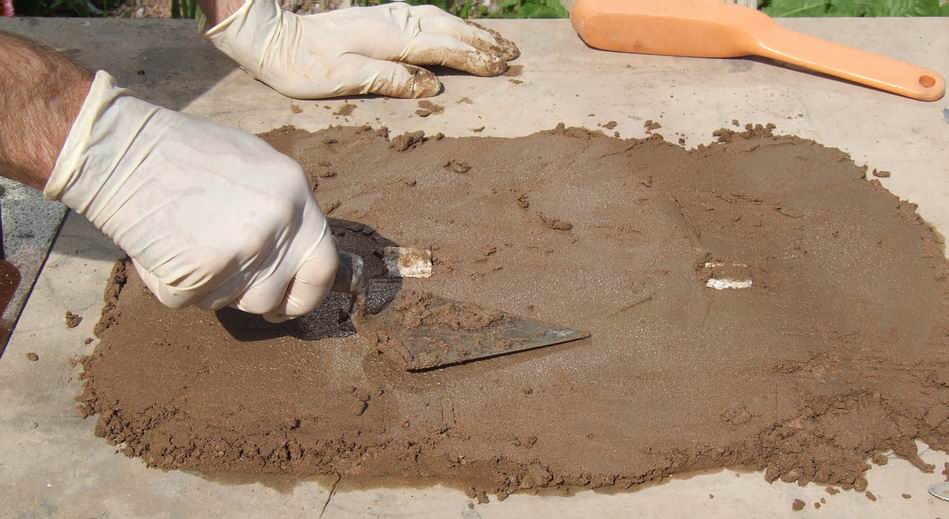
Your mix should be wet enough so that it forms a shape when squeezed but not so wet that it flows down when you are trying to build up the sides. I start working with it on the dry side and add small amounts of water if it starts to crumble and not bind. The next stage is to hold your polystyrene 'drainage holes' in place as you surround them with the cement mix.
Cement trough 6
Then using these bits of polystyrene to act as a depth guide build up a base layer making sure that it extends out beyond the outer line you marked on the board.

Cement trough 7
Now position the box onto the base layer using the polystyrene drainage holes as a guide. If you are using the off cuts of polystyrene as described above they will not be thick enough to form the drainage hole all the way through so you will need to place a second piece on top of the first one at this stage and again surround it with cement making sure you work the cement in well to key into the base layer.
Cement trough 8
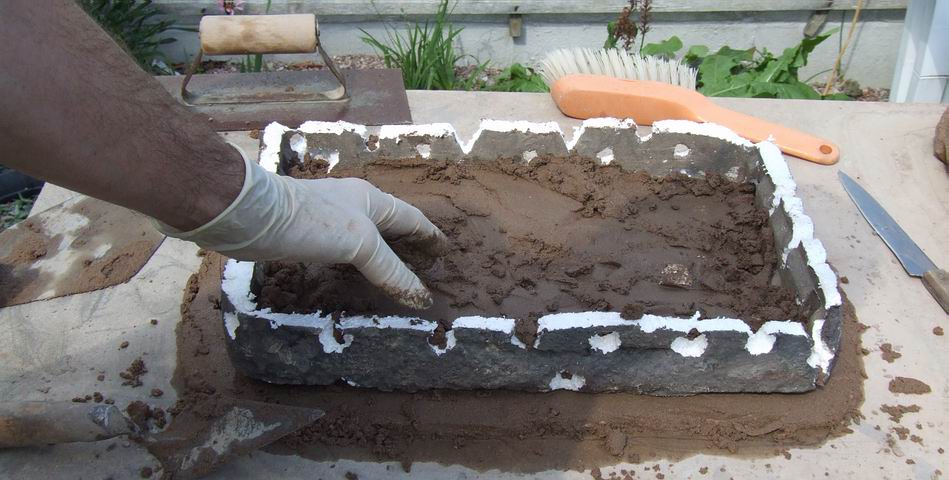
Work a layer of cement all over the base taking time to push it down through all the holes you punched earlier. The inside layer does not have to be quite as thick as the base layer and you can again use the top of the polystyrene drainage hole as a guide.
Cement trough 9
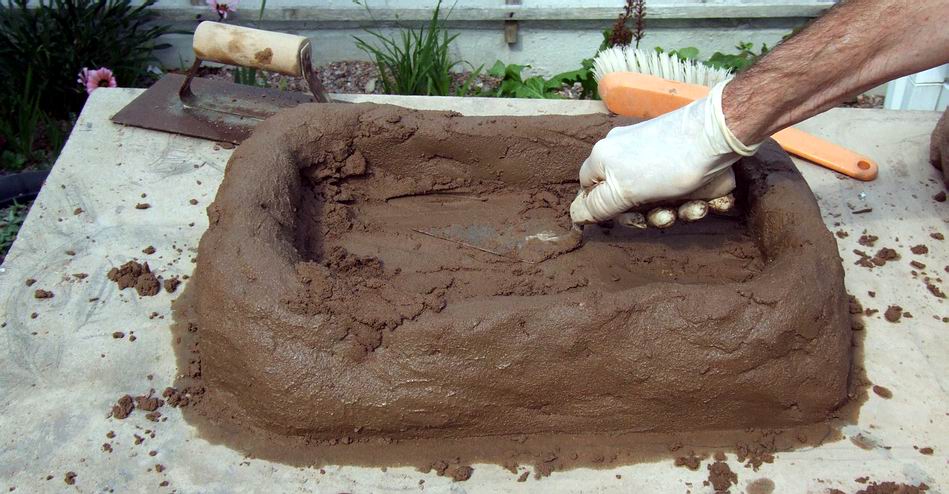
Now to the sides - you will notice that I cut the sides of this polystyrene box down a bit but I have left others at their full height to give a variety of depths to the finished trough. I place a trowel full of cement inside and one out side and work them simultaneously again paying particular attention to working the cement through the holes to key the layers together.
Cement trough10
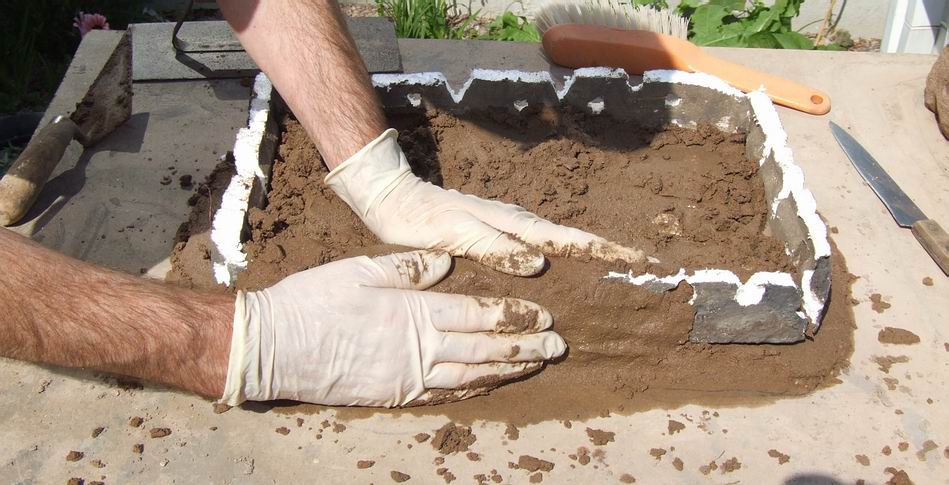
Gradually work your way around the box building up the side until the polystyrene is completely covered; aim to get at least 1 to 2 cms of cement over the top of the sides.
Cement trough 11
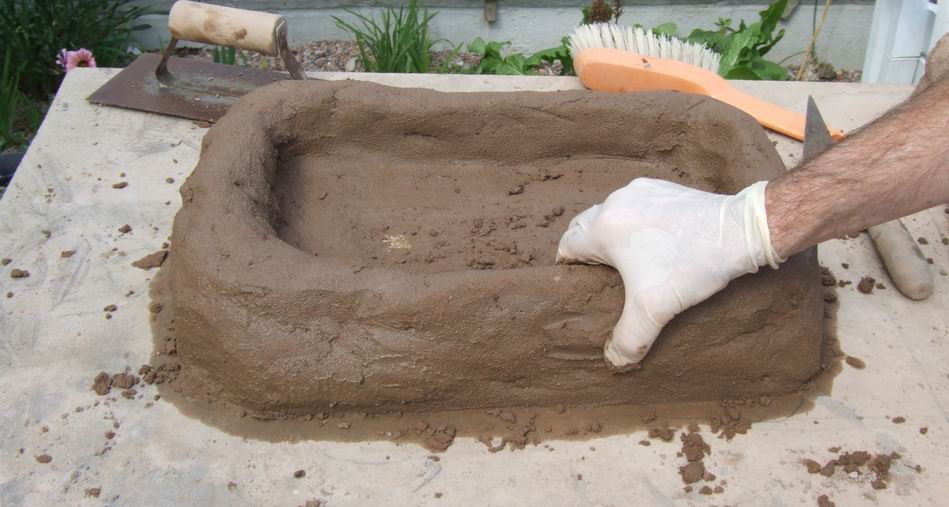
Use both hands one inside and one outside to form the sides.
Cement trough 12
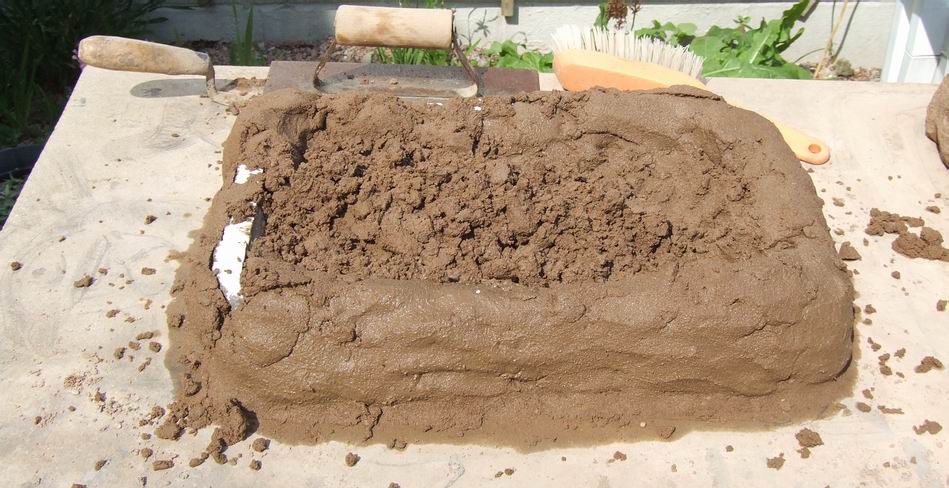
Once it is all covered you can start to smooth the base and trim off any excess from the inside of the sides - this excess can be added to the tops or worked onto the sides to form lumps which if done well add to the 'genuine' look of the finished trough.
Cement trough 13
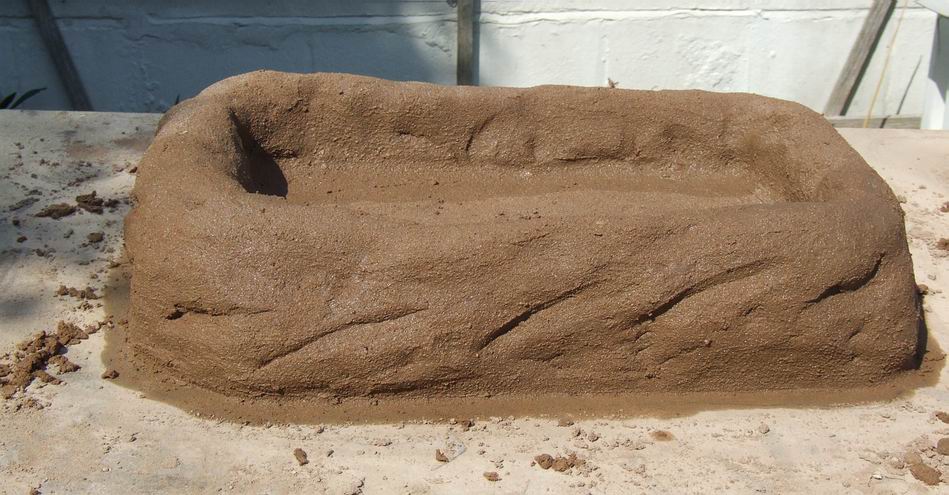
Continue to work and shape the sides squeezing and moulding the shape until you get a finish that you think looks as if it was carved from stone rather than having been built up.
Cement trough 14
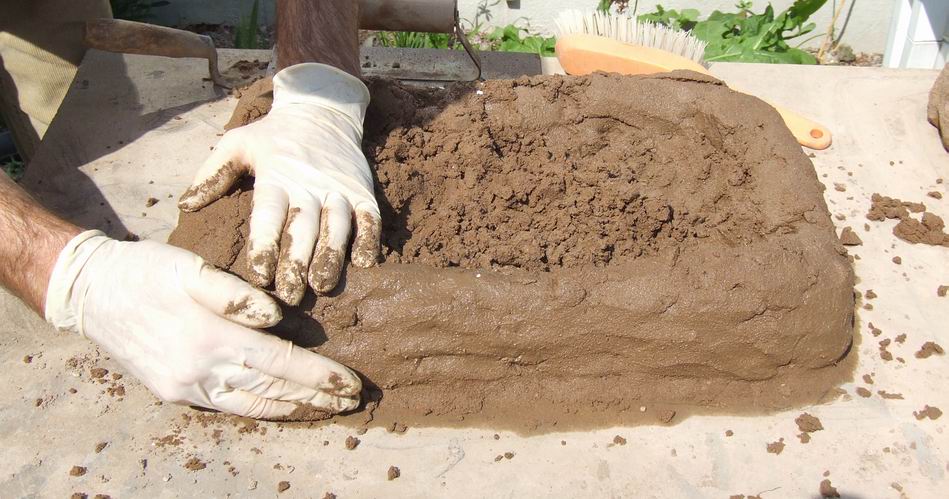
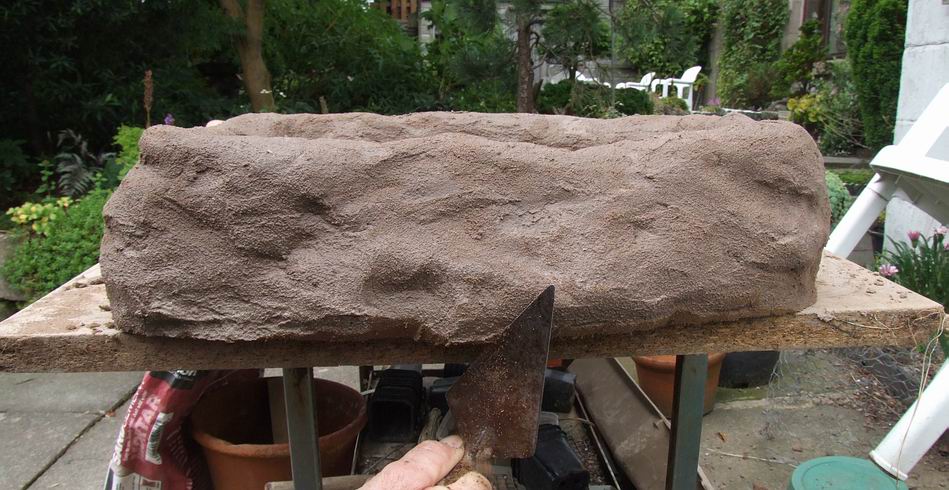
You can easily make some deep 'chisel' marks at this stage.

Cement trough 15
Now you cover the trough up and leave it over night to dry out a bit: here is one I did yesterday beside the new one.
Cement trough 16
Next day you can carefully slide a trowel under the trough to just release it from the board - if you are doing this in the winter it may take a few days to dry out enough to be moved.

Cement trough 17
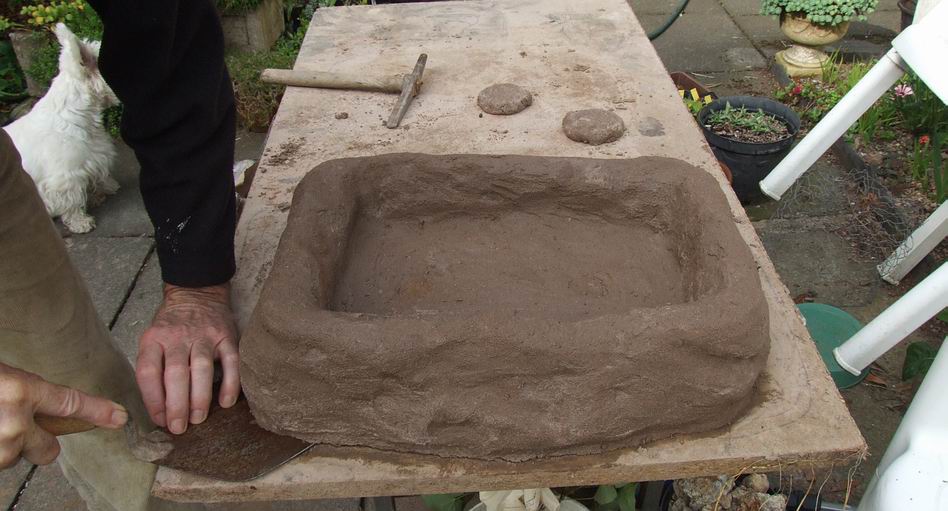
Carefully slide the trough so that one side is sitting over the edge of the board.
Cement trough 18
This allows me to under cut the very obvious straight edge and do some more light carving to the sides as I think necessary.
Cement trough 19
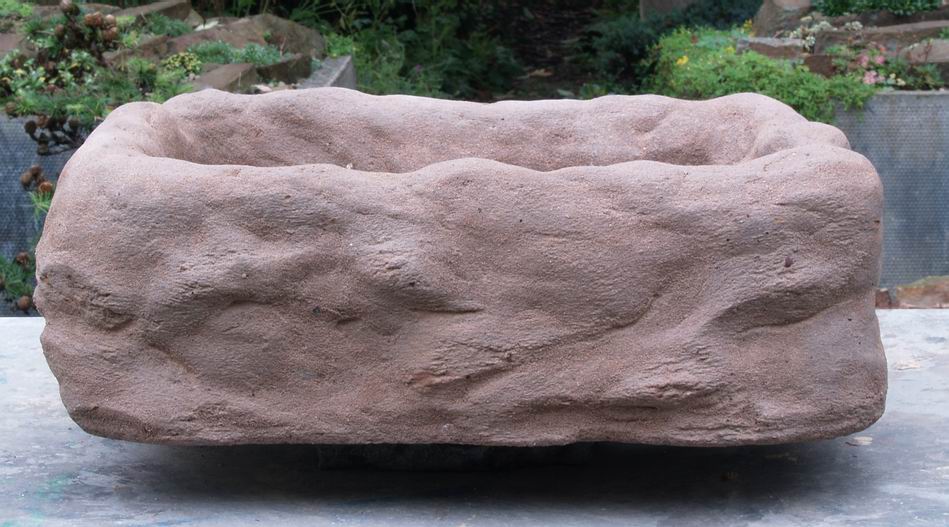
After another day of hardening I rub the sides with a wire brush which removes the very grainy sandy texture and can also cut groves to mimic layers of strata in the stone. Some troughs I have finished by rubbing them with a smooth stone which gives a slightly different effect than the wire brush. That could be the finished trough now but I have one more refinement to make it even more realistic.
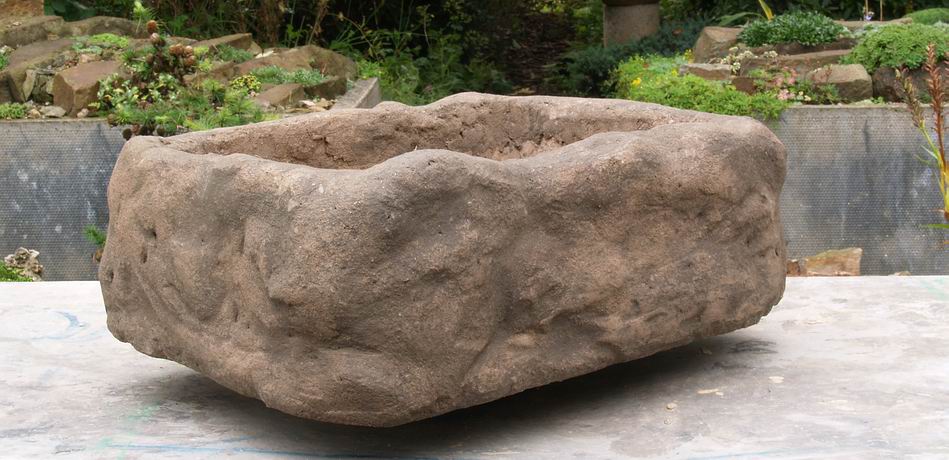
Cement trough 20
No stone is a single colour if you look carefully it is made up of many tones and hues so I now add a cement wash. As an artist who works in different media I buy my colours as dry ground pigments so I make up a very wet mixture of roughly 2 parts fine sifted sand to 1 part cement and I make small piles of pigments of the earth colours -ochre, sienna and umber. I dip my brush into the cement and then pick up a little pigment and stipple it on to the trough. As the cement of the trough has not fully cured the coloured wash binds into it as the lime crystals form and gives a subtle layer of colour to what I think is a pretty convincing 'stone' trough. As one bag of the mix costs less than £4.00 and makes two troughs you can well afford to experiment.
Creating slate trough 1
Some of the troughs may be quite shallow but you do not need to worry about that as you can build up your planting as I have done here with this very shallow trough that was just free formed with some left over cement mix.
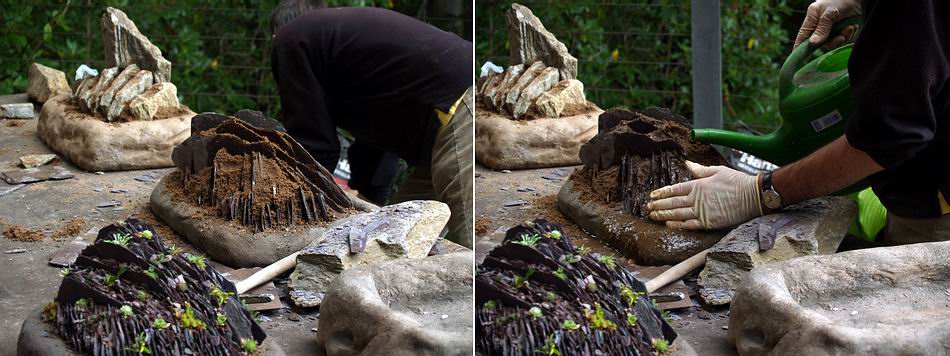
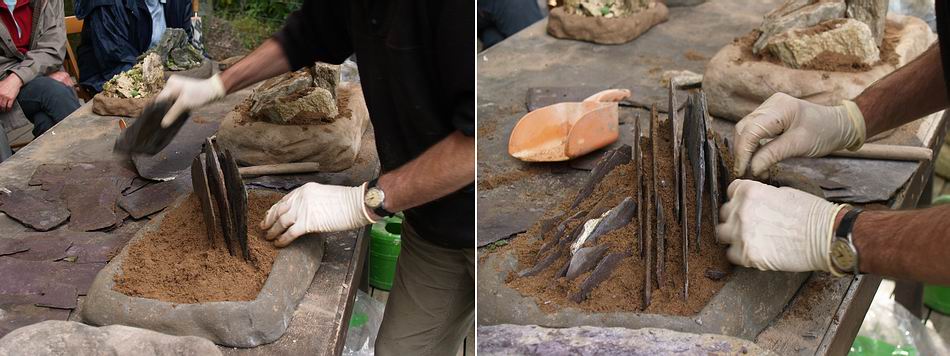
Creating slate trough 2
Standing old roofing slates on their ends creates a perfect crevice type garden that plants just love. I build it up slowly adding sharp sand as I go and watering it in so it penetrates all the way down the crevices.
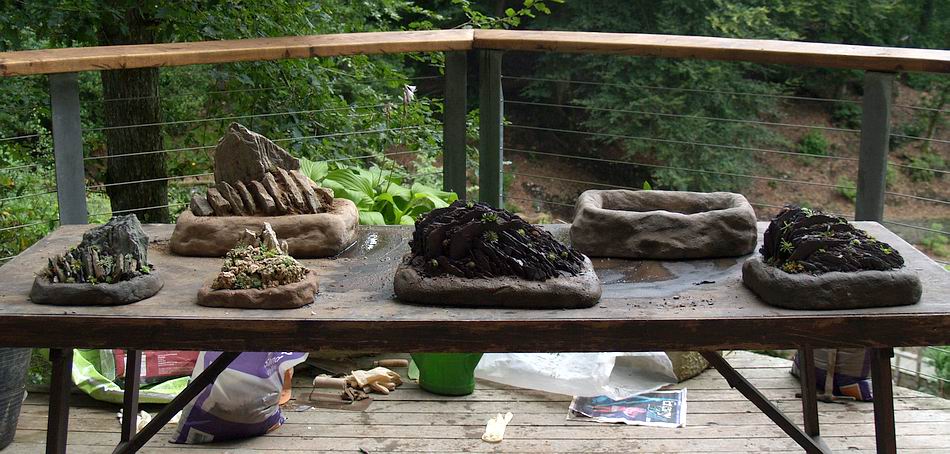
Troughs at workshop
This is a series of troughs that I produced at a recent workshop showing that you can build up your planting and even a tiny shallow trough can provide a very good home for alpines.
I will show more pictures of the troughs and from the workshops in the bulb log feedback pages of the forum.
http://www.srgc.org.uk/smf/index.php?topic=2463.0
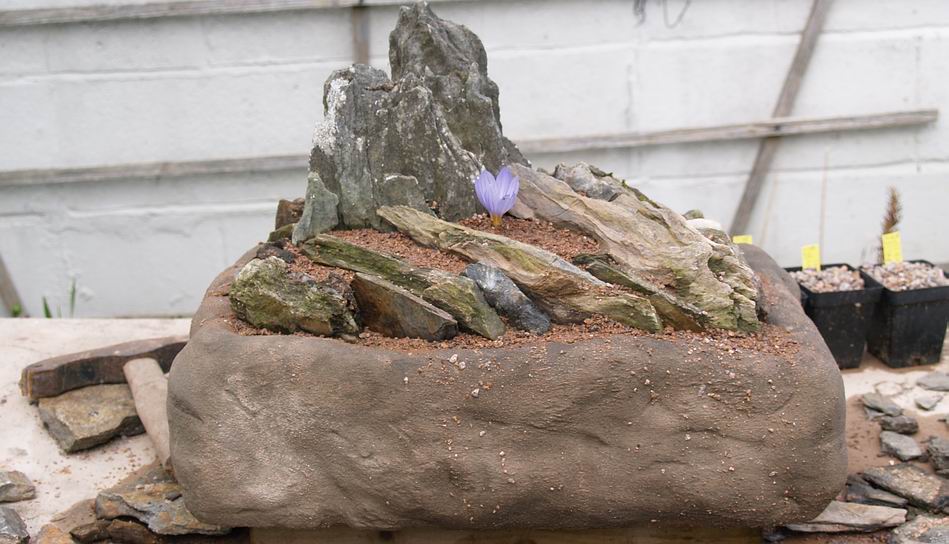
Crocus trough
I have a number of troughs now ready for planting up which I will report on how I do that in future logs. I would love to be able to find a number of very compact bulbs that I can grow in a realistic fashion in one of these troughs. I can see no reason why the bulbs would not grow well as these troughs have built in 'cavity wall insulation' so the cold should not be too much of a problem.
^ back to the top ^
|
