|
BULB LOG 26 --- 26th June 2007
Bulb log 26 sees me half way through another year of my one year project!! How time flies when you are enjoying yourself. I always worry that I might bore you all to death by repeating myself all the time but growing bulbs is cyclical and the seasons repeat themselves with slight variations each year and so do I. I love computers when they are behaving themselves and unfortunately ours is not at the moment. It kept freezing up all the time because of some hardware problem so I took it to the repair shop. Typically it sat running perfectly for two days in the repair shop so I took it home where it worked for a day before freezing up again, aghhhh
..
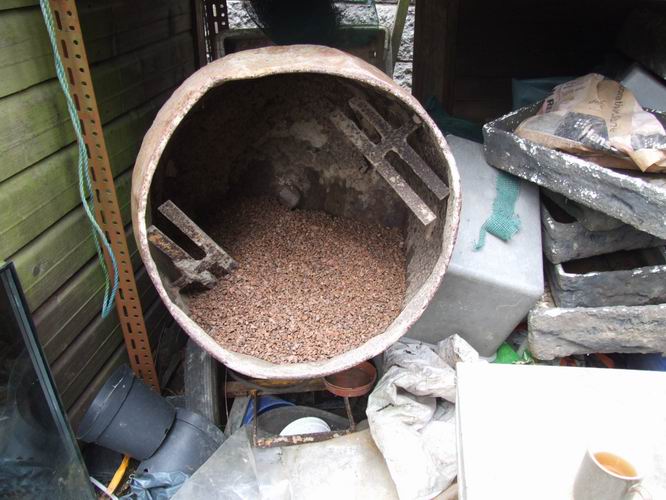
Mixer with gravel in
Having gathered all the ingredients that I need for my potting compost I have started to make up the mix using our rather old and battered cement mixer which unlike our PC works beautifully. It is the perfect way to get a good mix of the ingredients and it only takes about six complete turns of the drum to complete the job. If you leave it running too long it is easy to over mix and the compost starts to separate out again with large particles working towards the mouth of the mixer while the smaller ones work their way towards the back. I always start by putting two buckets of gravel into the mixer.
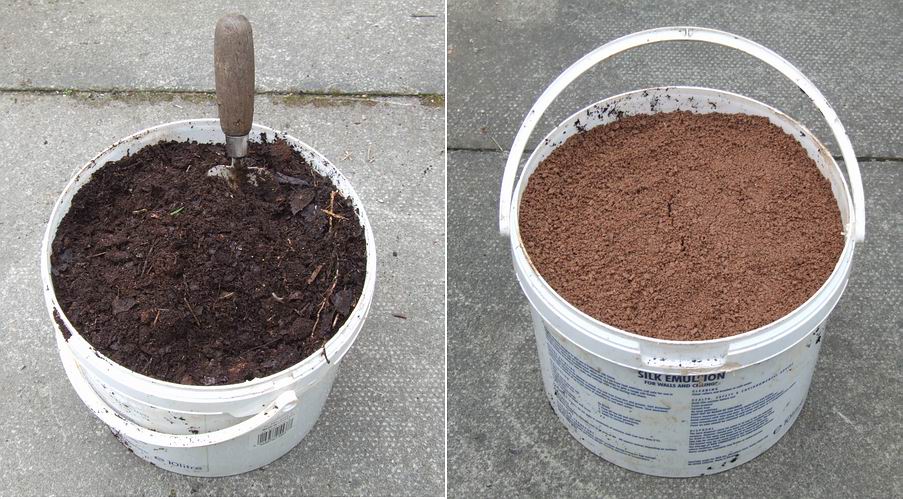
Leafmould and sand
Then I add one bucket of leafmould - we are self sufficient in this due to the large number of trees we have in the garden. Next I add two buckets of sand - this is replacing the two buckets of loam I used to add before our stock ran out.

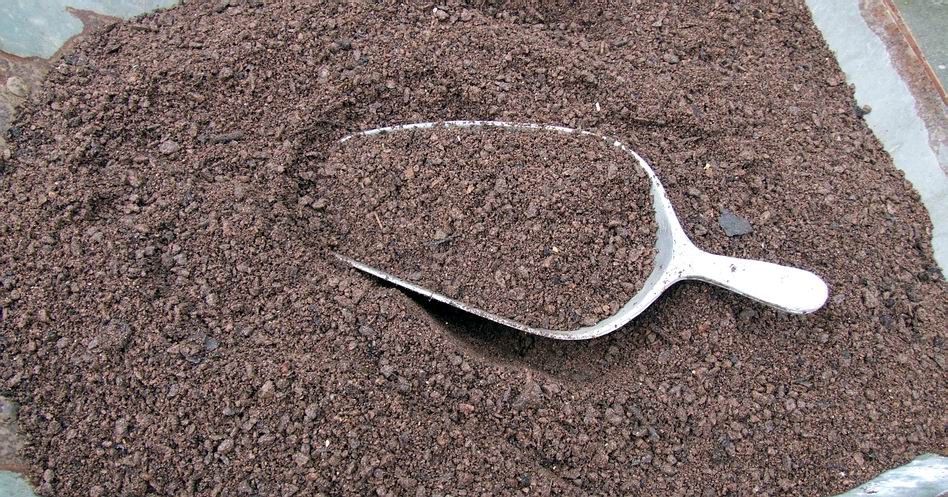
Gritty sand
Now the most boring picture on the internet : this is our gritty sand. It comes from the same quarry as the gravel and it is a sharp sand being made up of all the small particles that are screened out from the process of grading the aggregate. I like the mix as it goes from just under 6mm down to dust.
Bone meal and rock dust
After I have all the main ingredients in the mixer I add a cup of bone meal to provide nitrogen and phosphorous and this year I am also adding a cup of the volcanic rock dust that I discussed last week. Because the sand and gravel I am using are the products of freshly crushed rock there is possibly a plentiful supply of minerals already in the mix but I will make another mix without adding the rock dust and compare the results.
Potting compost mix
I am very pleased with my first mix which seems to have just the right texture that I am looking for. I test it by taking a handful and squeezing it into a lump then I open my hand and shake it gently and the lump should open up and spread across my palm. If it does not form a lump it may be too gritty for my purpose and if the lump does not break up when shaken it does not have enough grit in it.
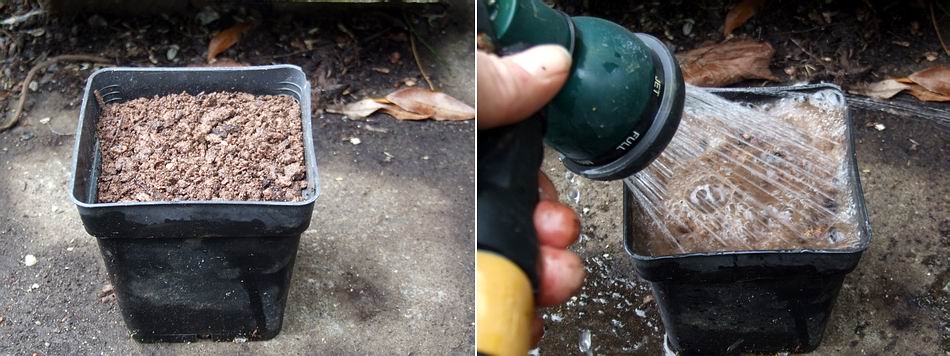
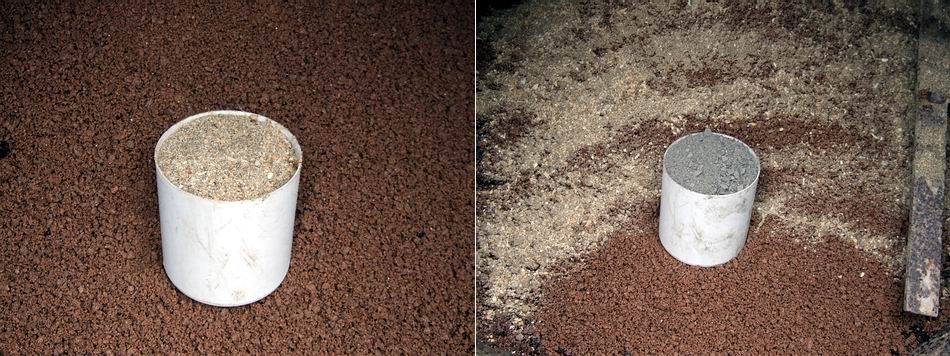
Flood test
Having passed the squeeze test, I now try the flood test: where I fill a pot with the compost and flood it with a spray of water. If your compost is dry you need to water it a few times until it is evenly moist before carrying out this test but due to the heavy rain all my ingredients are already moist.
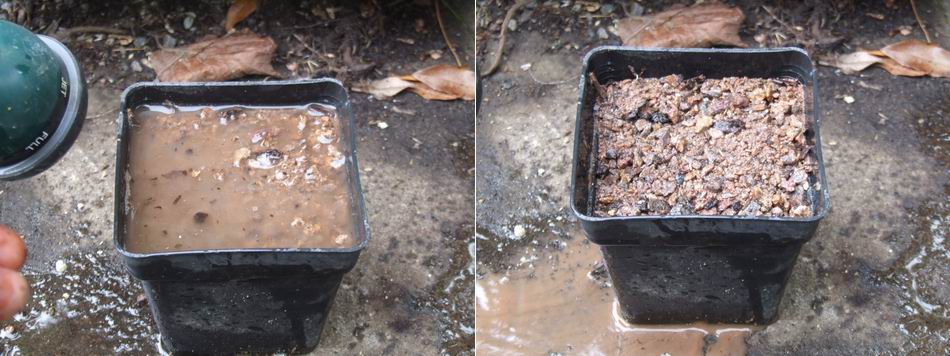
Drain away
The result that I am looking for is to see the water flow away quite quickly in front of my eyes. If it takes too long then I may need to add extra grit to the mix to open it up more but as you can see above the pot drained almost as quick as I could take these two pictures.
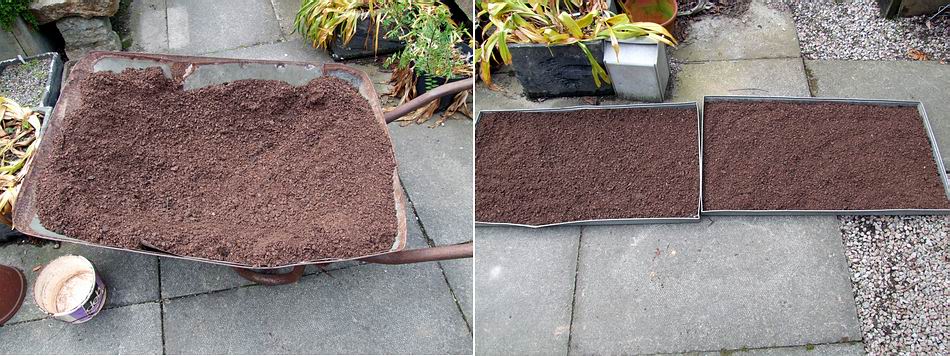
Drying out compost
Now I have the perfect mix I still have a problem and that is the compost is too moist to repot the bulbs into this early. In an ideal world I would like to repot all our bulbs on the last day of August and water them on the 1st of September but that is not possible. To stand any chance of repotting the bulbs I have to start now while they are just settling into their dry summer rest. If I put them into compost that is too moist now I greatly increase the risk of losing bulbs to summer rot so I am spreading the compost out in a wheelbarrow and on trays to dry it out before I use it.
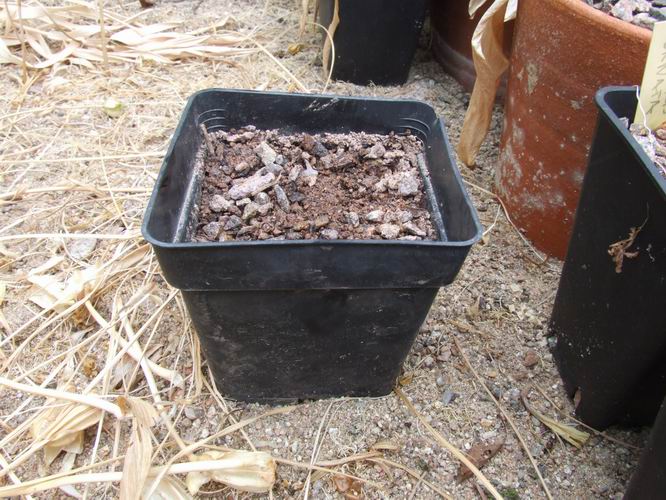
Drying test
One final test I am conducting with the pot above that I flooded is placing it on the dry sand plunge in the Fritillaria house to see how long it will take to dry out in hot conditions under glass. This will give me a guide to how often I might need to apply water to the bulbs.

New bed
Having a good supply of sand has also allowed me to complete the new plunge bed I made a month or so ago. I have now decided that I will plant small bulbs directly into this sand bed rather than plunging them in pots and it will allow me to trial many bulbs that I have only grown under glass previously. I have made a few rock outcrops to both add interest and provide some crevice type planting places for some of the bulbs that want to be very well drained - I will keep you posted on the progress.
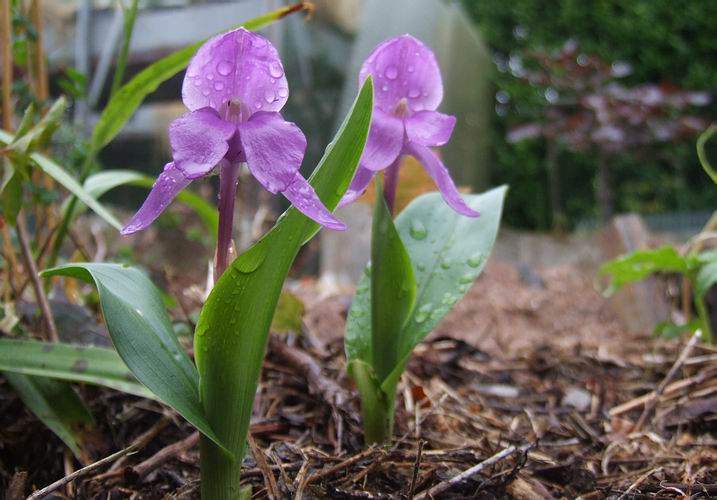
Roscoea humeana
At last some of the Roscoeas are appearing - I always think they have rotted or died but like many of the Arisaemas we grow, they are just late into growth. Roscoea humeana is one of my favourites and this is one of the 'Inkling' seedlings which have a dark colour range going to almost black.
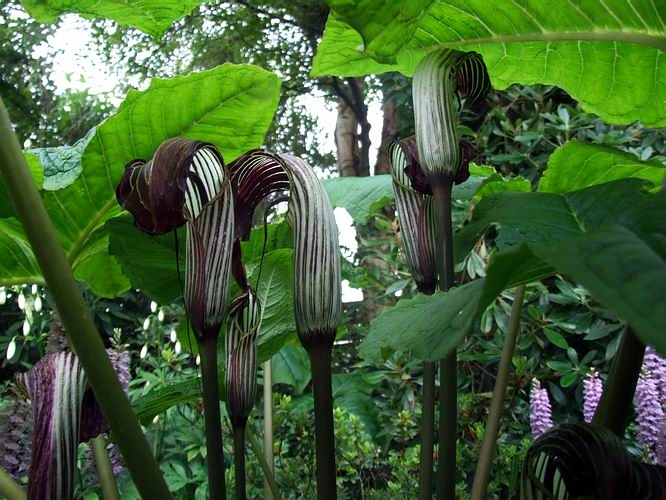
Arisaema
This is our giant Arisaema species which I should be able to identify now as I have got the new book. Unfortunately I do not have much time to read the book just now when they are in flower and when I do have time to read the book in the winter they are sleeping under ground.
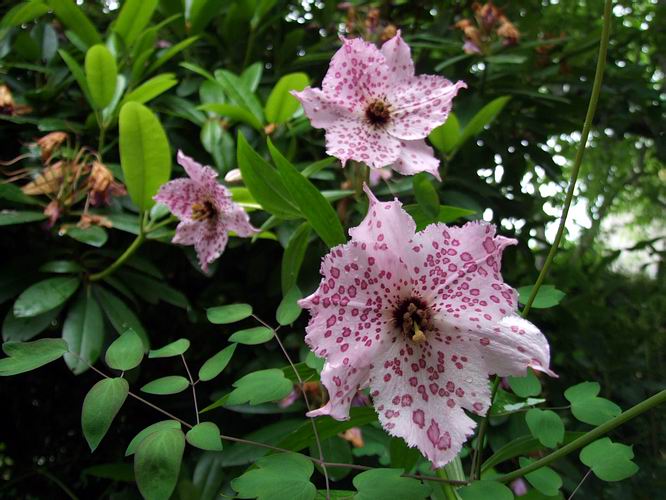
Nomcharis pardanthina
We do not have so many Nomocharis flowering this year as we usually do because I missed out on sowing seed three years ago. I find that most Nomocharis bulbs start to weaken after about three years of flowering so I like to sow Nomocharis seeds every year to keep a supply of young healthy bulbs coming along. Having said that we have some fifteen year old Nomocharis but these are exceptional for our garden, most succumb to virus and need replaced.
Nomcharis flowers
The beautiful spotted flowers of Nomcharis pardanthina are among the most universally admired of any flowers and any one who is lucky enough to see them is soon taken in by their beauty.
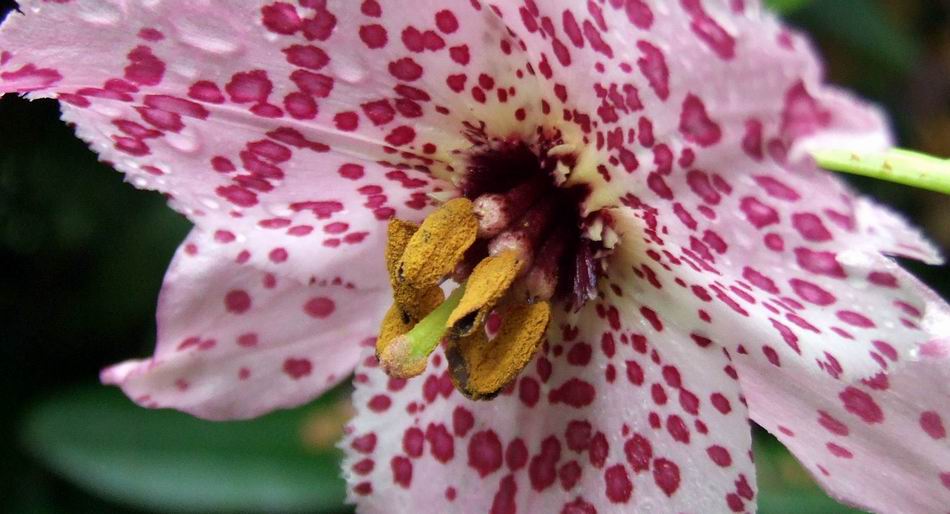
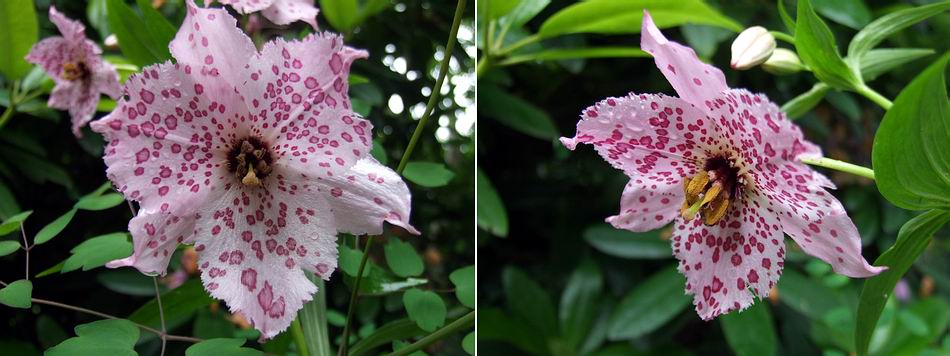
Nomcharis flower detail
No apologies for repeating myself and ending this weeks log with a detail of one of these majestic blooms.
^ back to the top ^
|
