|
BULB LOG 43 --- 25th October 2005

Cyclamen mirabile
One of my favourite Cyclamen is this short form of mirable with its beautiful flowers held just above the leaves.

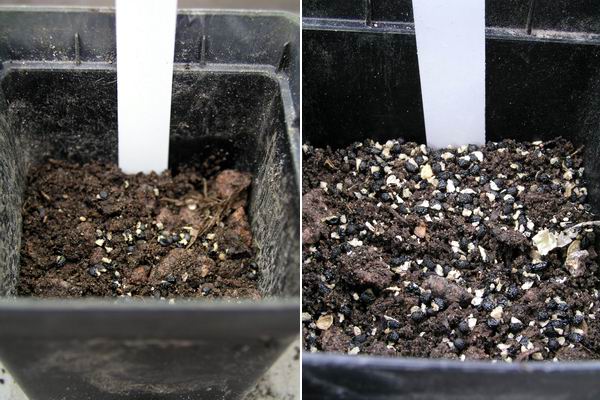
Fritillaria seed
Finally I am getting around to sowing our own bulb seed. I would have preferred to have had it all sown by early October but better late than never. I sow Fritillaria seed on the surface, just covering it with a two centimetre layer of gravel. In my trials I have discovered that if frit seed is sown at any depth it does not germinate, I suspect that it requires some light to stimulate it. It is my observation that the clue of whether to sow deeply, or on the surface, is how the seed is dispersed in nature and it is obvious that frit seed is wind dispersed and so should be surface sown.
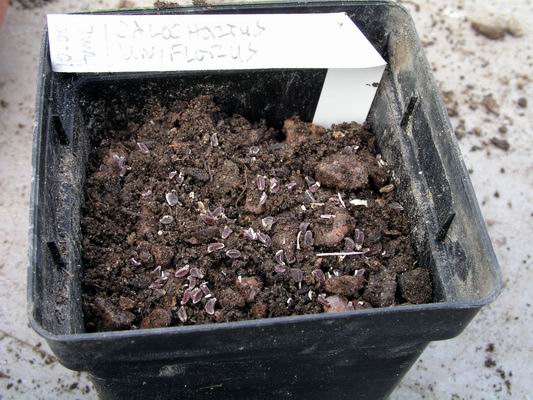
Calochortus uniflorus seed
My rule is if I do not know if bulb seed should be sown deeply or not is to surface sow, like with this Calochortus uniflorus seed. I have not had seed of this species before so I have surface sown it. All bulb seed can be surface sown and it will make its own way down eventually, although this can take several years if left to its own devices.
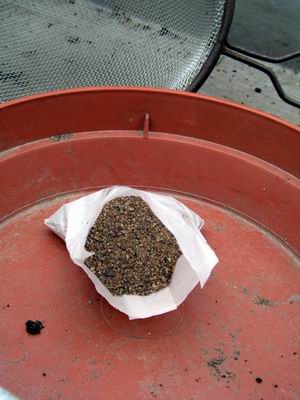
Seed stored in sand
I also have different ways of storing the seed, frit type seed, after an initial drying out, is stored in paper or plastic packets while seed of Crocus, Erythronium, Narcissus, and the likes, are stored, still in paper or plastic packets, but covered in dry sand.

Pass through a sieve
I pass the contents of the package through a fine sieve to separate out most of the sand.
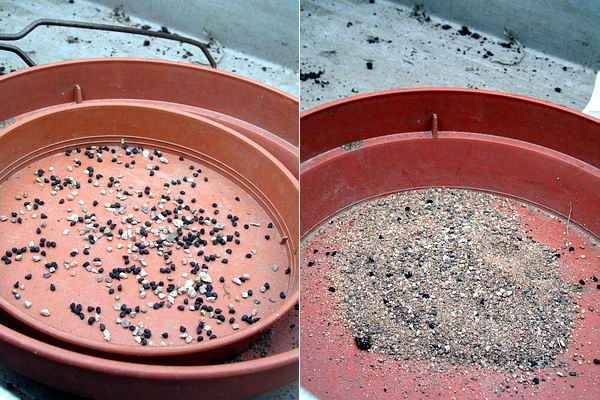
Seed separated
On the left is the seed along with a few larger bits of gravel and on the right is the sand with a few sterile seeds that are small enough to pass through the mesh. Close examination of these small seeds that pass the mesh shows them to be nothing more than a wizened seed coating.
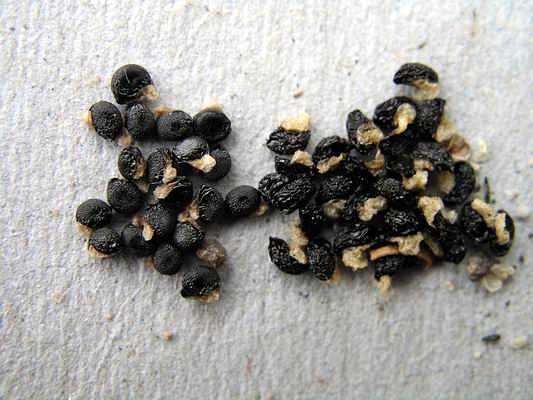
Stored seed compared
To illustrate the advantage in storing this type of seed in sand, I ran a trial with some in sand and some just in a paper packet. The seed, above left was in stored in sand and those on the right were wrapped in tinfoil and placed in a paper packet. I am sure you can see the difference this has made - the sand-stored seed is not nearly so desiccated.
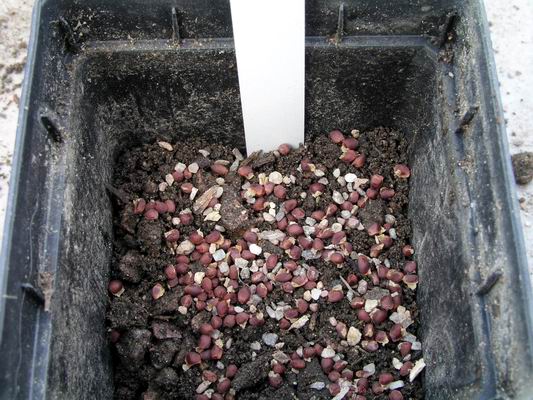
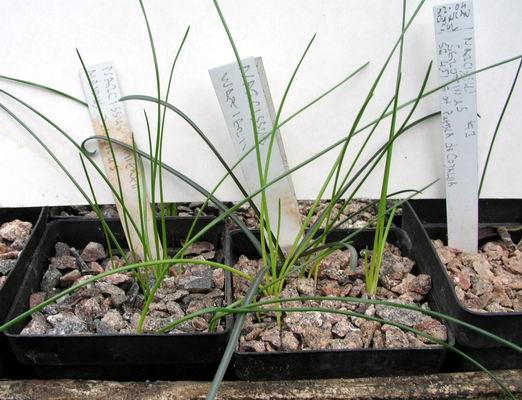
Narcissus seed sown at depth
Here are two 7cm pots of Narcissus seed sown at depth, 5cms down. It also illustrates that I am happy to sow bulb seed thickly, as on the right, when I have more seed available. A 7cm pot can produce 100 seedling bulbs when I repot it after two or three years. In fact I have often found that bulbs sown en masse like this into small pots do better and suffer fewer losses through rotting than those I planted into bigger pots in the hope that giving them more space would help them develop into flowering sized bulbs quicker.
Crocus seed
I also sow all my Crocus seed at least 5cms down. In the past I have spent the time to place all the seeds equally spaced with tweezers but through trials and shortage of time I have discovered that it does not matter how they are spaced, they will do just as well. I just scatter them in giving a reasonable but random distribution around the pot.
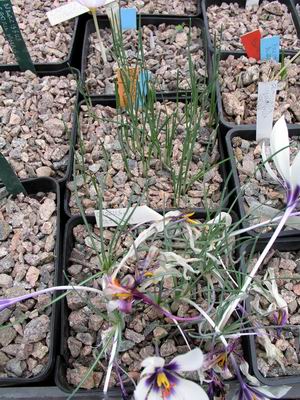
Crocus mathewii and seedlings
The pot to the front is the pot of Crocus mathewii that I showed in last week's log and behind it is our oldest pot of seedlings grown from our own seed. This is a 13cm pot and there are 60 young corms in it, I hope they will start to flower this time next year.
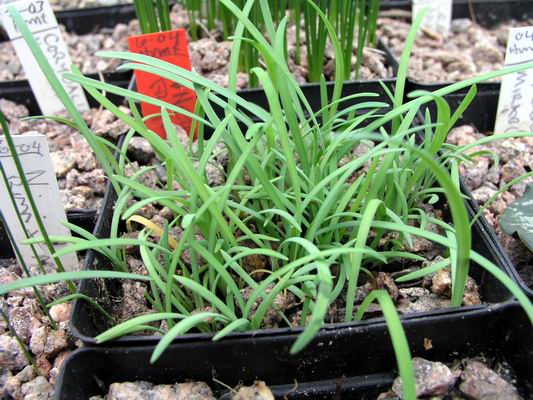
Ipheion seedlings
A 7cm pot of Ipheion seedlings, sown as soon as the seed was ripe at the end of June in 2004, is growing well and I will repot it for the first time next year when it goes dormant. I do sometimes sow bulb seed immediately it is ripe if I have the time, some compost ready and the space to keep the pot under glass. It is important if you sow the seed as soon as it is ripe that you sow it into dry compost and keep the pot dry, only applying water when you first water the adult bulbs in September. My method of storing seed in dry sand as described above is a compromise.
Mixed up bulbs
Inevitably when you grow so many bulbs in pots, no matter how careful you try to be, you will start to get the odd ones mixing. The pot of Narcissus seedlings on the right is labelled N. watieri but the leaves you see are not N. watieri, they are up too early and are the wrong shape. The watieri leaves will only start appear in December, also the most observant of you will also notice the leaves of a sternbergia towards the back left of the pot! We have several pots like this that for various reasons have become mixed up and it gives me the idea why not grow different bubs in the same pot if it is advantageous? If I have only one or two seeds of a crocus, a frit, or a narcissus and not enough room to have three pots, why not grow them in a single pot? They are easily identifiable by both the above ground and below ground growth and it would give the advantages of growing in a group like many bulbs seem prefer. Yet again it is a chance occurrence like this, which, if we interpret it properly, can lead us to i
mproved methods of cultivation.
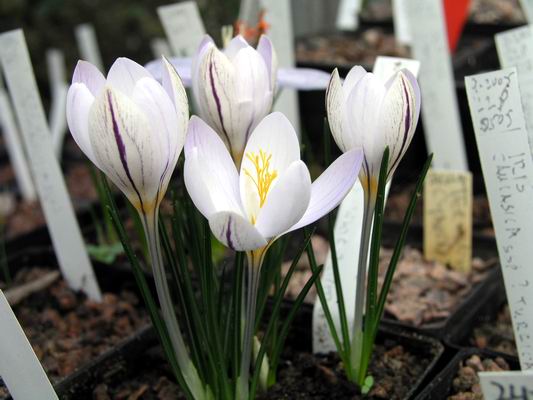
Crocus laevigatus
To end off this week's log here is very nice group of Crocus laevigatus that we just received this year from Tony Goode. Growing from seed is the best way but it is also nice to get bulbs of other forms and this is different to our forms of laevigatus so we have introduced a wider gene pool.
^ back to the top ^
|
