|
BULB LOG 18 -- 3-5-05
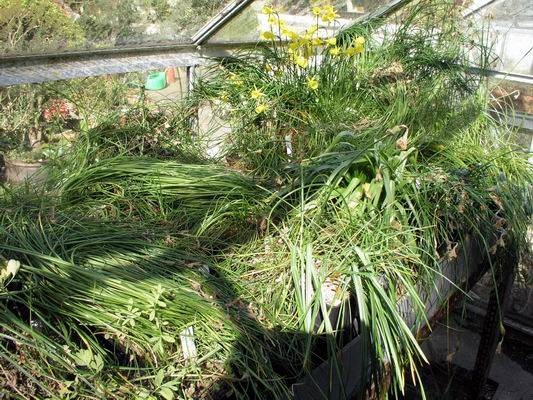
Bulb house narcissus
Many of the winter flowering narcissus in the bulb house have finished flowering now and the leaves are just a swirling tangle. On a sunny day last week I gave them a good water and feed with potash - this will be their last major water as they are now starting to slowly shut down. The seed that has been successfully fertilised will ripen, the leaves and stems will slowly start to go yellow and the nutrients will be drawn down to the bulb where next years flower bud will now be initiating. Narcissus are a 'true bulb', like an onion, each year more layers are added and it gets bigger or in some case further growth points break into action from the basal plate.
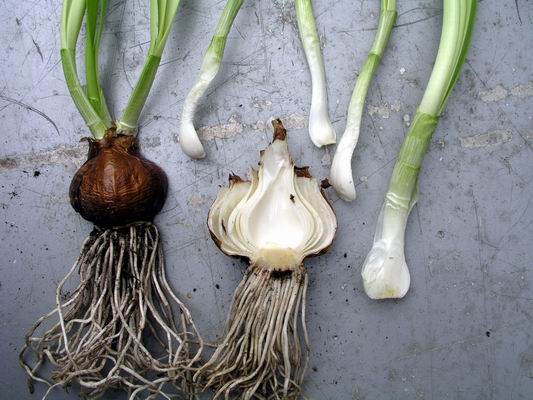
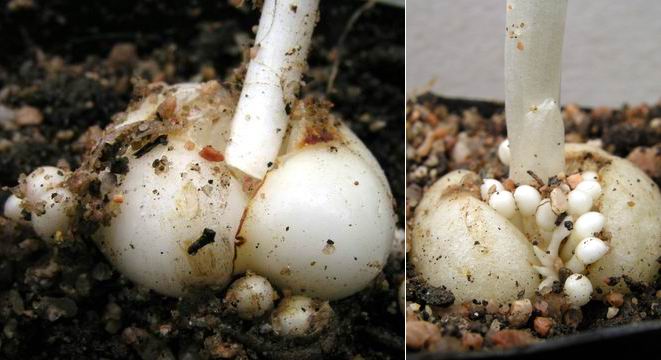
True bulb
In this section of a narcissus bulb you can see the basal plate, which is a compressed stem, with the roots emerging from the bottom. The scales of the bulb, which are leaf bases modified to stay under ground and act as a food store, rise from this compressed stem and form the bulb. It is from the base of these modified leaves, the axils, that new growth points will form - I have removed four from this bulb, one main one and three secondary ones - plus three more can be seen in the other half of the bulb. Eventually, after a few years growth, they will split into separate bulbs. Each of these small growths has the potential to flower next year if the plant gets sufficient water and nutrients now; that is why I emphasise the need to give them a good feed before they start to shut down.

Bulb house crocus
The other plunge has more crocus than narcissus but these also require a last boost of food before they also go into their resting period. Crocus have a corm which, unlike a true bulb, is completely replaced each year by a new one sitting on top of the remains of the old corm. If the plant had two good flower stems then you should get two corms forming one at the base of each stem; a crocus corm is a compressed stem. Some crocus produce rice grains and others send out stolons with small corms forming at the tips.
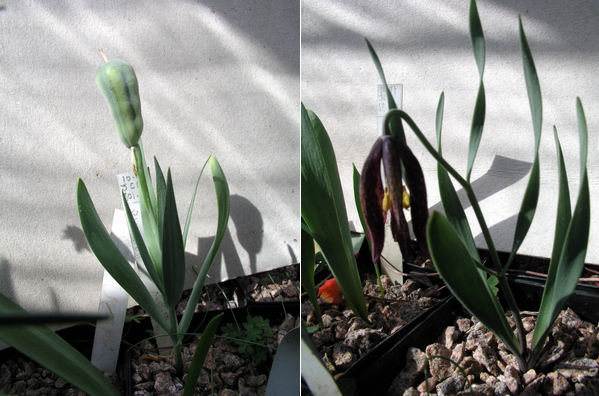
Fritillaria seed and no seed
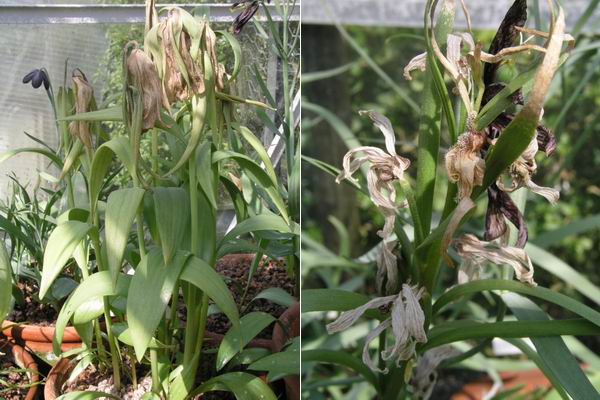
This has not been our best year for the frits - they have not done well in the cold damp weather we experienced while they have been flowering. Fertilisation of the seed has failed in many of them due to the low temperatures and damp conditions that prevailed when the pollen should have been flowing. It only requires a few warm sunny days to allow the pollen to grow down the tube and fertilise the embryo seeds and a few that hit the warm window in our weather have set seed, like the F. pinardi on the left above. F. epirotica on the right however will not set seed this year - I can tell because if the seed was forming the stem would have started to turn upwards by now and the ovary would be swelling.
Fritillaria carica
Likewise, this pot of Fritillaria carica will not produce any seed this year and I can already detect a slight yellowing of the leaves. This is a signal to me to start to reduce the watering as the growth will slowly start to die back as a new bulb forms at the base of the flower stem.
Fritillaria bulb x2
Fritillaria also replace the bulb annually, the twin scales are probably modified leaf bases that have adapted to become the plant's food store. On the left above is a frit bulb today, as compared to the same bulb on the 3rd of March, on the right. The old scales from March have shrivelled away and passed their food store on to the plant and the nice new scales have formed the bulb - the rice grains formed on and are still just attached to the shrivelled remnants of the old scales.
The two most vulnerable times in a frit bulb's life are when it is coming out of dormancy in September and now as it is starting to go back. Watering at these times is critical, too little water will cause the bulb harm and too much can cause the bulbs to rot. If your frits are setting seed then their leaves will stay green and grow on for 4 to 6 weeks longer than those that are not setting seed. So the rule is: slowly reduce the watering for the ones with seed and, for the ones without seed, stop watering directly into the pots as the leaves start to turn yellow. Keeping the sand plunge moist will provide them with sufficient moisture as they shut down.
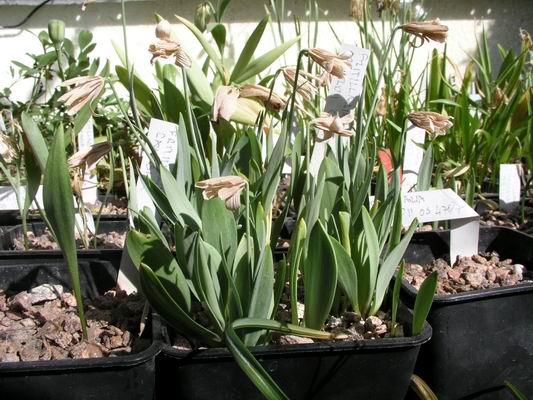
Fritillaria flowers
The other thing to be very vigilant with is the removal of faded flowers as these will quickly become infected with botrytis in cold damp conditions. Remove all dead petals and any die-back at the top of the stem to prevent the whole plant from becoming infected.
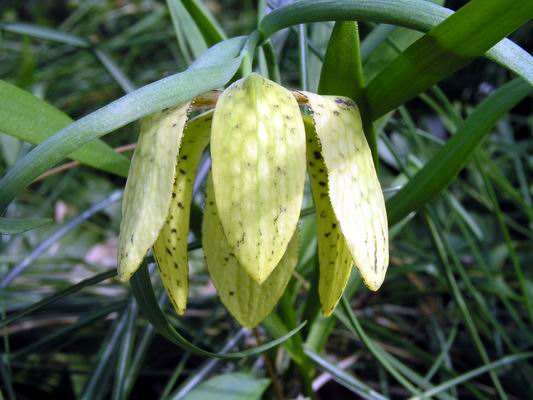
Fritillaria collina
This is the first flower in this pot of Fritillaria collina seedlings sown in 2001. If you look along the edges of the petals you can see little 'tooth' like appendages, this is one of the easiest ways to distinguish F.collina from F. aurea. This flower has narrow petals, we have other forms where the petals overlap and you have to look more carefully to see the petal edges.
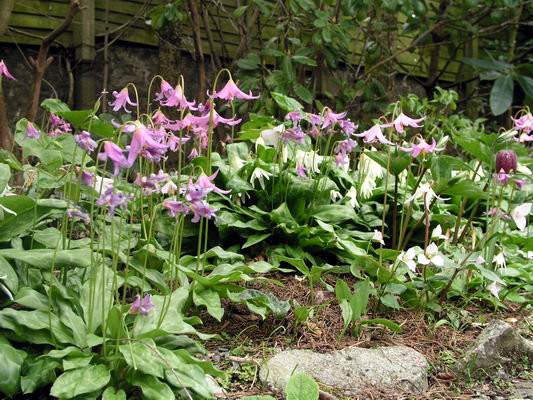
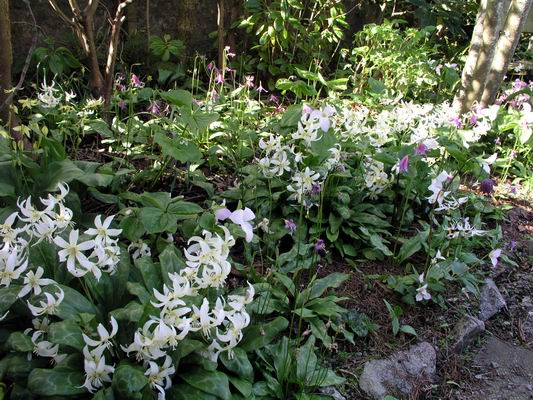
Erythronium revolutum below rhododendrons
Back to Erythroniums and this is view of a planting below some big rhododendrons, taken two weeks ago and you can see that it is mostly the pink Erythronium revolutum that is in full flower.
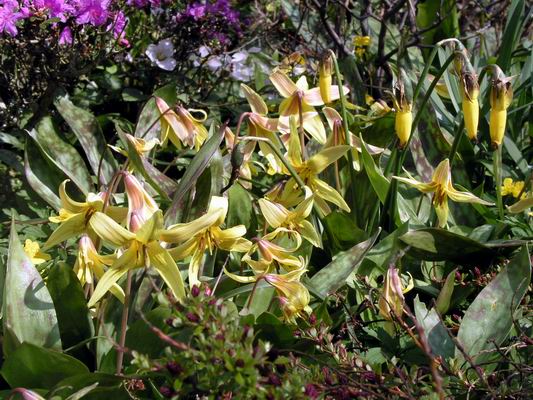
Erythronium under rhododendrons
Today in the same bed it is the paler Erythronium californicum and 'White Beauty'
which are the dominate flowers.
Erythronium americanum
This is the non-flowering form of Erythronium americanum ! For the third year in a row this patch has produced around 40 flowers, which only goes to prove how little we know about these beautiful creatures. What is it that has suddenly encouraged it to start flowering so well? It still produces masses of single leaves that form a dense carpet around the twin leaved plants (which produce a flower). This is nature's way of proving me wrong for labelling it the 'non flowering form'.
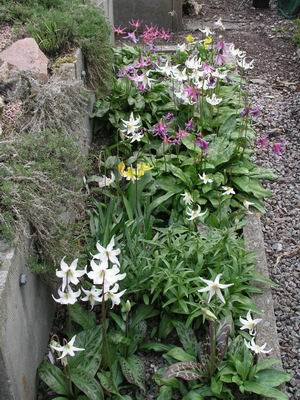
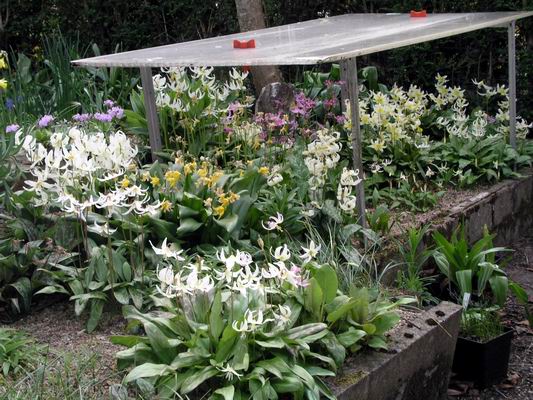
Erythronium plunge bed
One of our Erythronium plunge beds tagged onto the side of one of the raised beds provides a home for young bulbs or special forms which are all planted in square, plastic mesh, pond baskets. A the bottom left of this picture you can see a group of Erythronium oregonum that I raised from our own seed.
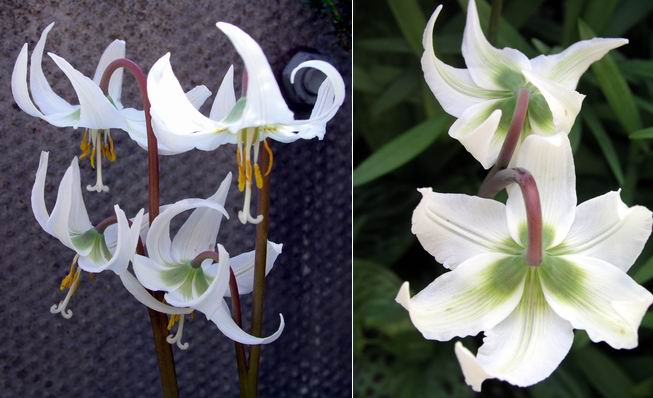
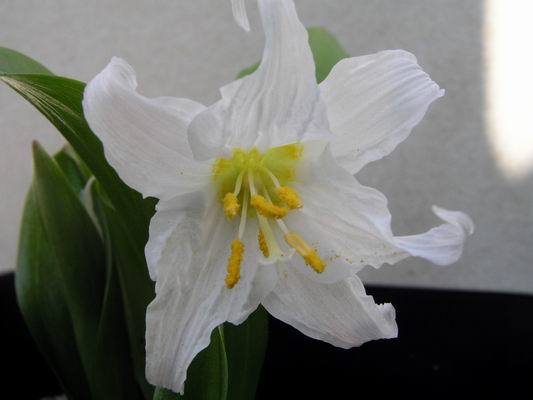
Erythronium oregonum x2
I had crossed oregonum with revolutum but I am not sure that the cross was successful as I can see no obvious influence of E. revolutum in these flowers..
They are however very good forms with a large green marking on the backs of the petals where they join the stem, they also have very well marked leaves.
Erythronium revolutum cross
This flower on the other hand, whose seed parent was E. revolutum, does show signs of hybridisation. It was open pollinated so I can only make an educated guess that the pollen parent was E. californicum (possibly 'White Beauty'). It also shares this green patch on the bottom of the petals which go through white turning to pink at the tips giving it a pleasant tri-coloured effect, worth watching.
Erythronium plunge covered
It is not surprising that I get hybrids appearing in our seedlings when we grow so many species close together in frames. The cover is to protect the flowers from the wet when their pollen is ripe - this greatly increases the amount of seed that we get.
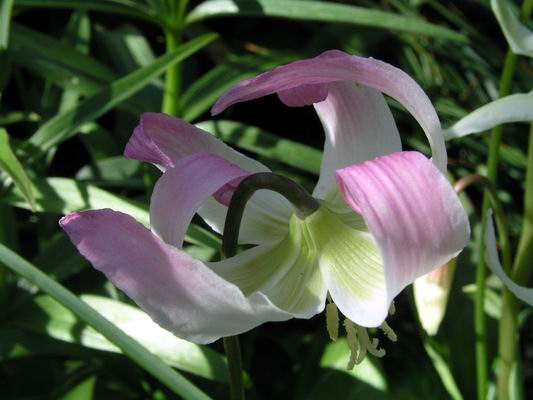
Erythronium montanum flower
I will leave you with a third generation Erythronium montanum seedling just unfurling its flower for the first time, sown in 2000. We are establishing a good free- flowering population of this stunning plant in our garden now, expect more pictures in a future log.
^ back to the top ^
|
