|
Wisley's Alpine Log
By Paul Cumbleton
Log 3.... 30th August 2007
In the forum there has been an interesting and useful discussion about the benefits of sand plunges.
As I have just 'rejuvenated' one of our plunges I thought it would be relevant to talk about these on this week's log. Kristl in Canada described her use of plunges for helping overwinter things outside, but here I'm going to discuss the plunges we have inside our growing houses, in which all our potted alpines are cultivated.
First, some details about how we prepare a plunge.

Elliott House
The above glasshouse is one of our "behind the scenes" growing houses.
We call it the Elliott House as it was kindly donated in memory of Roy Elliott by members of the Alpine Garden Society back in 1991.
It houses a mixed collection of potted alpines, all of which are plunged in sand plunges that are built to a nice working height (no more grovelling on our knees in cold frames at ground level!).
Over time the surface of the sand can become untidy and more weeds germinate in it than one would wish. So I decided to rejuvenate things by replacing just the top few inches of sand with fresh stuff.
First I skimmed off the top few inches of sand, doing the work in stretches of a few feet at a time.

Top few inches removed
New sand is then added. It is important not to add too much at once - just an inch or two and then to firm this layer before adding some more.
The same applies if you are building a plunge from scratch - fill it just a bit at time and firm as you go. I use a brick to hit the sand with to achieve the firming.
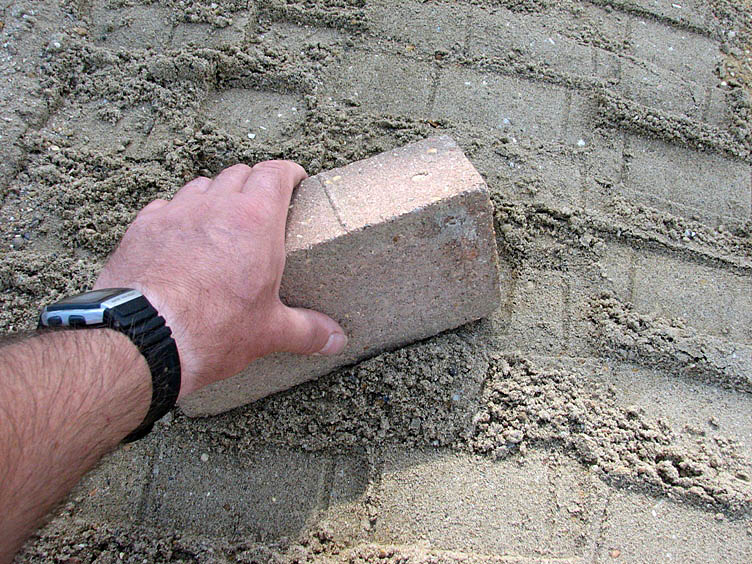
Firming with a brick
If you don't firm the sand really well it will sink - sometimes dramatically! - when you water it.
Firming well will not only largely prevent this, but it also makes it easier to plunge the pots as the sand keeps its shape better as you dig the holes.
Plunges we made like this over 5 years ago have sunk less than a centimetre in that time. If you are constructing a new plunge it is tempting, to save time and effort, to fill it right to the top and then just firm the top.
But this firming doesn't penetrate very far and the whole thing will still sink as the sand further down is still too loose.
Once full, I add a little more sand to slightly over-fill the plunge, then use a thin plank of wood to scrape over it to get the final level. It's just like plastering a wall, but on the horizontal. Doing this you can get a really nice flat and even finish.

Using thin plank to finish off
Here's a section completed and the next section dug out ready to fill:

Section completed
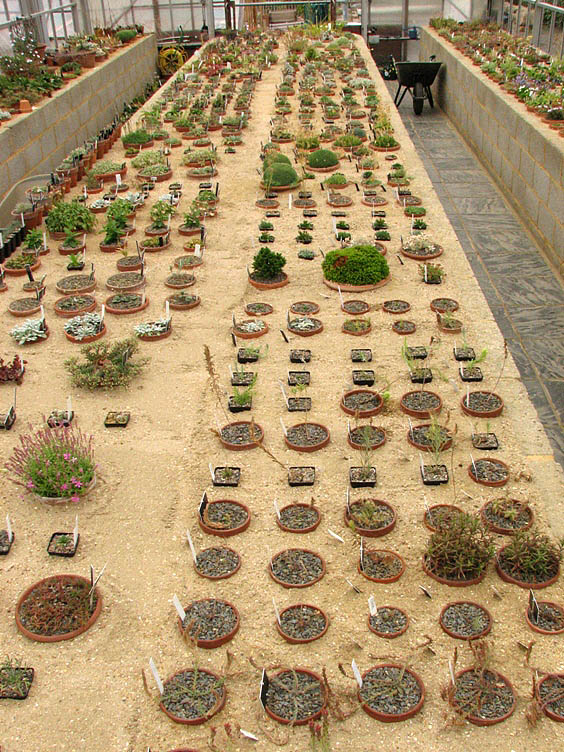
Here's a plunge that was newly constructed in another house, almost finished, which gives a better view of the overall thing:

A newly built plunge
Once ready for plunging, I like to mark out where each pot is going to go, using an empty pot to make a mark in the sand where the holes should be dug

Marking positions
Most gardeners, whatever they grow, never have enough space in their glasshouses! So we cram things in to make the best possible use of the limited space.
At Wisley we try to resist this urge and wherever possible we leave some space between pots.
Not only is this better for the plants but the space between each row helps make it easier to water the sand in the plunge, as we can just go up and down between the plants with a lance.
Even though our behind the scenes areas are not usually open to the public, I feel it is important to still maintain the highest standards we can, so we try to arrange pots in neat rows.

Pots plunged in neat rows
Here's the middle bench now completed with all plants plunged back in:
Plunging completed
So on to the question asked in the forum about the benefits of plunging. T
he commonest answers to this question that you will see (in books for example) are to do with temperature and moisture control and both of these are important.
Plunging helps prevent the roots freezing in winter. It also keeps them cooler in summer - a pot stood unplunged on a bench can become surprisingly hot in sunshine and you can literally bake the roots.
During the growing season if you keep the sand moist, this slows down the rate at which the pots dry out and so means somewhat less frequent watering.
This is particularly so for plants in clay pots which are porous. You can conversely use the plunge the opposite way - if there are plants you are especially keen not to get too wet you can keep the sand in the plunge dry and this will then pull water out of a clay pot.
There is another aspect of moisture control that plunges achieve, one which I see as being one of the most important functions of a plunge and yet which these days rarely if ever gets mentioned, a kind of 'lost knowledge' if you like - which is odd, considering this is old science that was understood over a hundred years ago.
It's all to do with good drainage. When you water a pot and excess water starts coming out the bottom, it is coming out due to a mix of gravity pulling on it and the weight of water above pushing down on it (the "hydraulic head"). However, no matter how free-draining your mix, you always get a bit at the bottom of the pot that doesn't drain as well and stays really wet.
This is because there is a point at which gravity or the hydraulic head are insufficient to pull or push any more water out. This wet area is called a perched water table and you get one in every pot. For many plants this doesn't matter very much, they can cope with it. But for some of the "trickier" alpines that resent the very suggestion of too much wetness, this perched water table can be a problem and lead to rotting of the roots.
A plunge however can completely remove this perched water table from your pot.
To do this it is essential to have good contact between the compost in the pot and the sand of the plunge. To achieve this, we cover the drainage hole of clay pots with just a square of old shade netting:
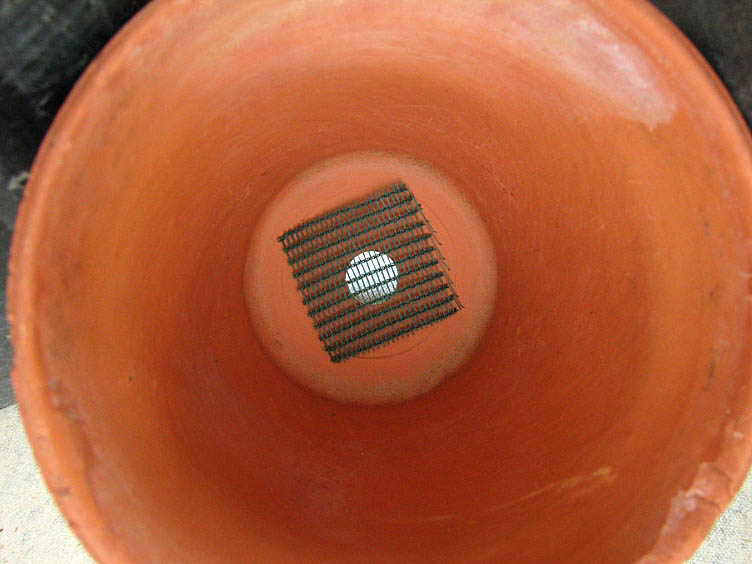
Hole covered with shade netting
This is sufficient to stop any compost washing out of the hole, but thin enough to allow contact between the plunge and the compost in the pot.
To ensure this contact, when we have dug the hole in the sand that the pot will be put in, we also make a small mound of sand in the bottom, and when the pot is then pushed into the hole this makes contact via the drainage hole with the compost in the pot.
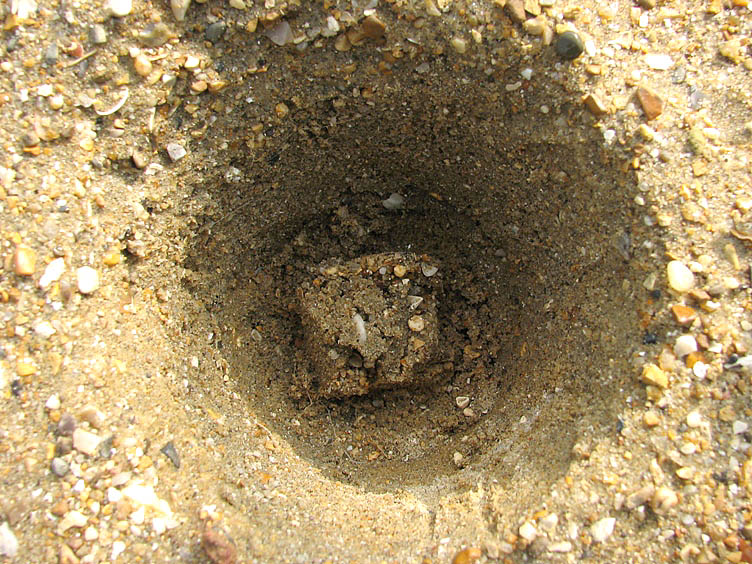
Sand mound at bottom of plunging hole
By having this contact, you have in effect greatly extended the length of your pot - when you water, the excess drains down and keeps on going through the drainage hole via the sand contact and you end up with the perched water table at the bottom of your plunge instead of at the bottom of your pot.
The contact with the sand is crucial, so it follows that the old practice of putting a crock over the drainage hole is a bad idea as this breaks the contact.
So, removing perched water tables from pots is a key benefit of a plunge.
Going back briefly to when I was making the plunge, it was interesting to see the sand wasps making good use of them:

Sand wasp
These wasps make little burrows in the sand down which they store their prey items:

Sand wasp burrow
Changing topics entirely, last week was graduation, when the trainees who have finished their horticulture diploma courses get their certificates on Prize Day.
A long tradition here is that the night before is known as pranks night, which
..well the name explains it all! This year we came in the next morning to find our potting shed windows had been decorated:
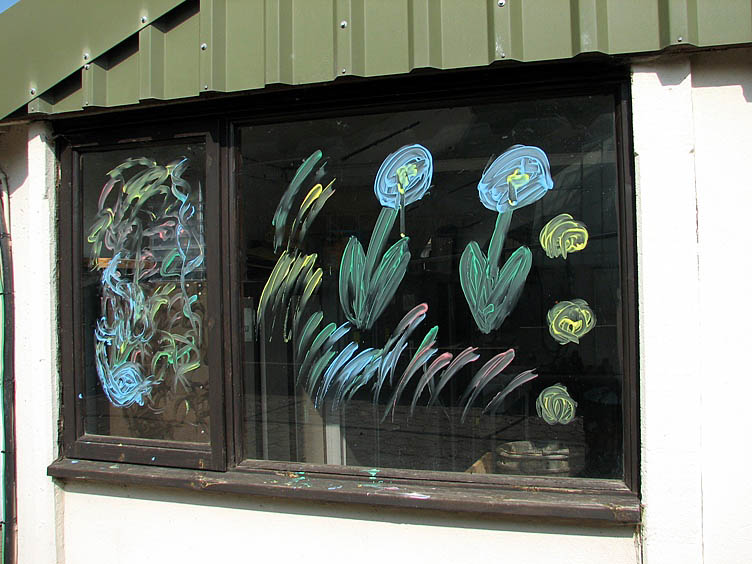
Window decorations
We quite like it and may leave some of the flowers on permanently!!
Finally for this log you may be wondering about the new Display House. Well, we hope to have it finished by the end of the week, though I suspect it may run into early the coming week.
But we have started moving plants in and by the time of the next log I hope I can do the big reveal
but here's a sneak preview

First plants in new house
^ back to the top ^
|
