 |
SRGC Nursery Workshop |
| Home Recommend This Site To A Friend |
|
This is the long awaited workshop but nursery work has kept me busy. I have been grafting my Daphnes over the last few weeks so here we go, firstly you will need some rootstock i.e. something to graft on to and most important a good Daphne stock plant or you might be lucky and have a good friend who will allow you to have a small cutting or scion, try and get D. petraea grandiflora, several clones are around, or D.x rollsdorfii D.Tremaltzo etc 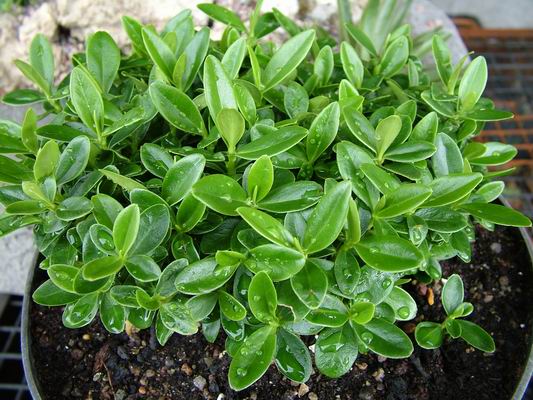 I use Daphne tangutica as my rootstock but others such as D. mezereum, D. retusa, D. pontica etc can be used. Daphne tangutica is best for me as it is easy to grow from seed, takes a year to be big enough to use. Seed is available from SRGC seed exchange. 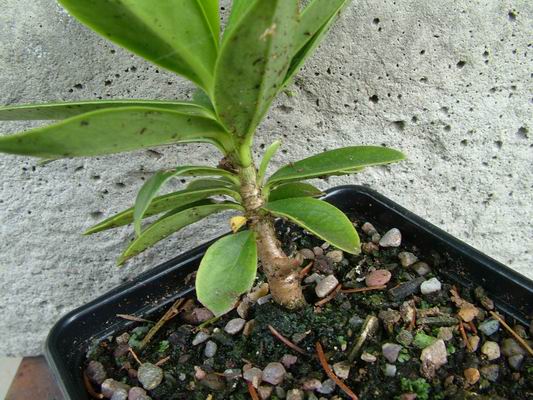  Several tools will also be needed, a sharp knife or blade. I use Stanley knife blades some tape, the green tape is from our local florists, or thin elastic bands again from any corner shop. 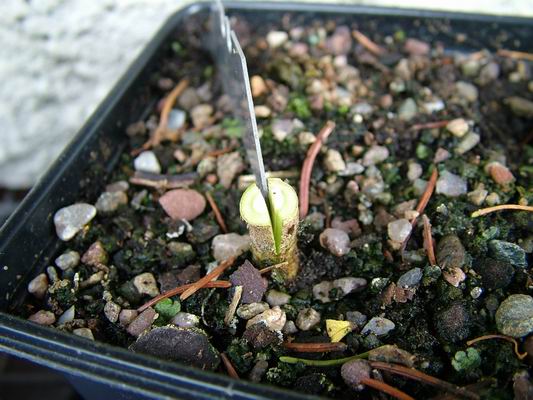 No 1 take your rootstock and cut the top off plant a good clean cut, then place blade over centre of the trunk cut down trunk a few centimetres.  Take your scion (small cutting) again a clean cut across the trunk.  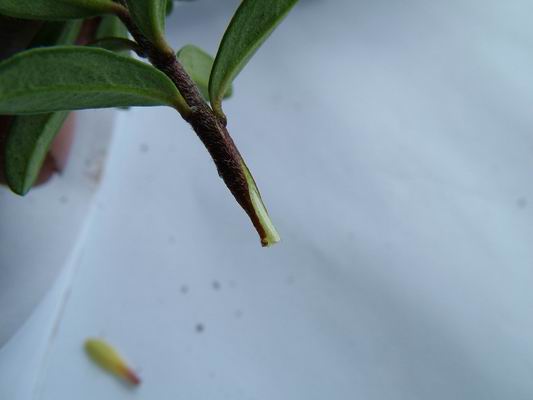 Then with great care cut the end of your scion (the trunk) to form a V make sure you have left some of the bark ( cambium) on uncut scion (either side of the cut).  Take your elastic band, cut, then make a simple cross-over loop, place band over rootstock and tighten slightly  Then insert the scion into the cut trunk of the rootstock, make sure you match the uncut edge with the cambium to the outside edge of your rootstock (on the outside edge of the rootstock) i/e marry the two close together. 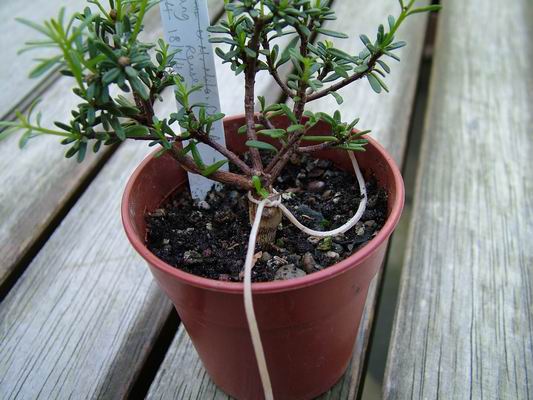 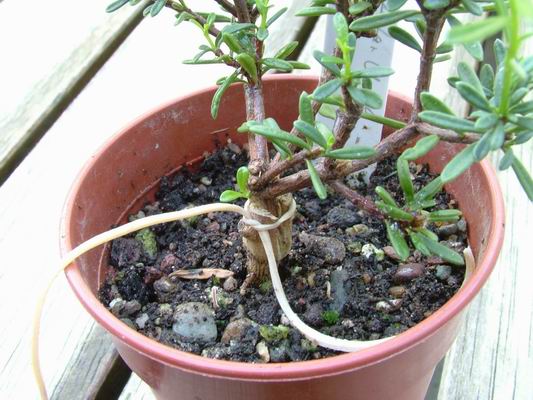 Pull the two ends of the elastic band tight this is important and you will know this is done well when you look at your new plant 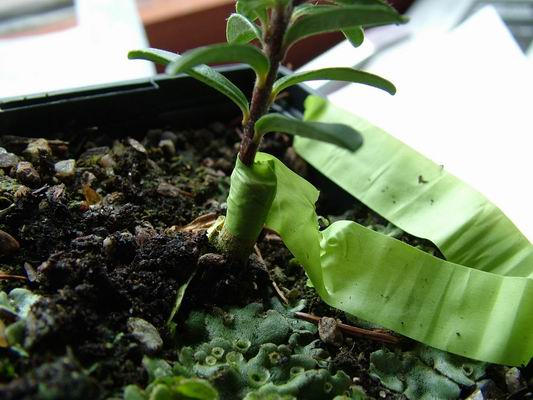 We have also used the tape as shown to wind round the new joint you have made, this must be tight 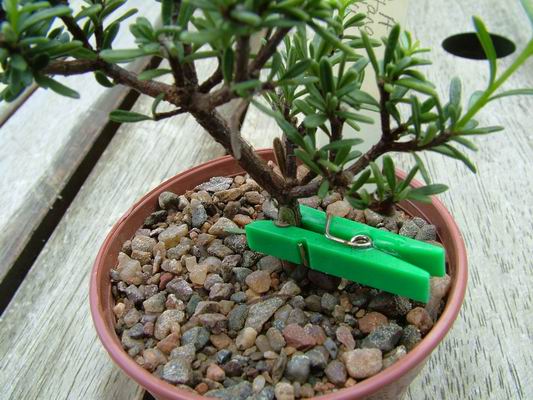  Should you be very lucky and find a good craft shop which sell these mini plastic clothes pegs, then once you have inserted scion, simply clip the peg on the joint (if you find plenty of these pegs please let me know, buy some for me please ). Once you have made your grafts then place in a propagator which can be purchased from superstores, mine cost £9.95) leave all in a shaded place, under bench in glasshouse etc. If you can't find a propagator then use a large fish box or similar with some glass over the top. We keep the lid closed for 3 weeks; have a look now and again. We then open vents on lid and leave for another 3 weeks, plants should be growing now. 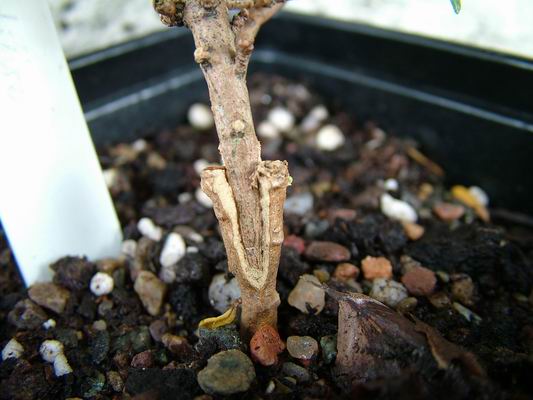 Note how graft has grown around inserted scion. 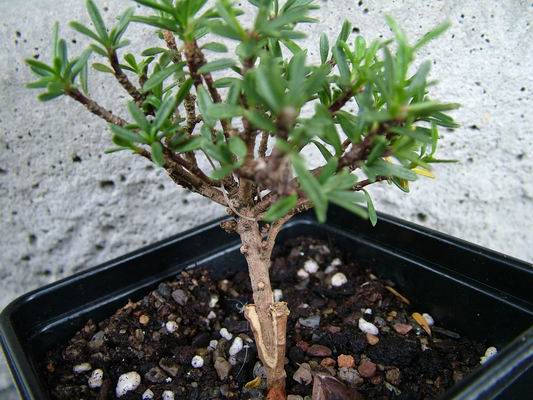 One other important point is that it is best to sterilise your blade after each cut; this can be done by wiping blade on a steret these can be purchased from your local chemist and come sealed in foil so they are very easy to use. You can also pass your blade through a flame (candle etc) to sterilise it. I do not promise success first time but if you are careful then all should do well. Please remember sharp blades can be very dangerous so take great care. I hope you can follow these instructions please send any questions which I will answer via the forum, good Luck, Ian. ^ back to the top ^ |