 |
Monthly Feature Article |
| Home Recommend This Site To A Friend |
|
RAISED BEDS
Crevice gardens We borrowed a small truck and bought a load of stone, each one hand picked, from a local quarry. 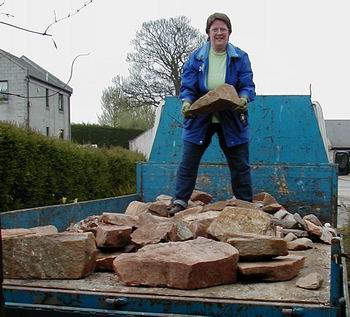
MY and rocks The next job was to dig out the beds and rescue any plants worth saving. 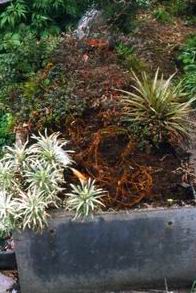
before 1 Then the fun of selecting and placing the rocks so that they were both pleasing to the eye and offered suitable planting positions for plants. 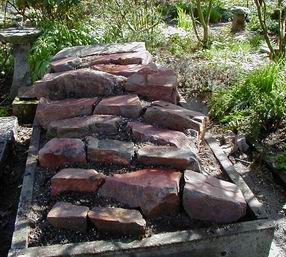
Raised bed construction All the beds are 6feet long by 3feet wide and made from concrete paving slabs placed on their edge and bolted together using metal strips. 
Bed 1 end In bed 1 we had the crevices running across the short side at a slight angle so they were not parallel to any side. We used most of the large stones that we had and arranged them so they would sit high above the concrete slab walls. We set the stones at the back and far end, higher, so that it would slope gently both from front to back and from side to side. 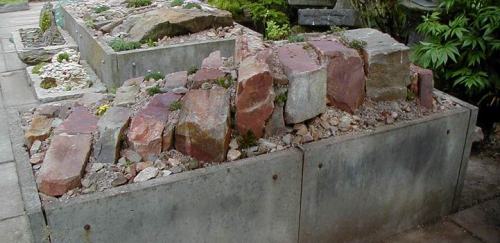
Bed 1 back This gave us plenty of vertical crevice ideal for planting a wide range of alpines along the back and also a few along the front edge. 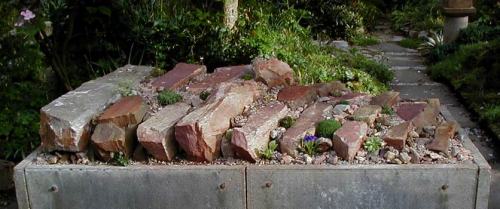
Bed 1 front 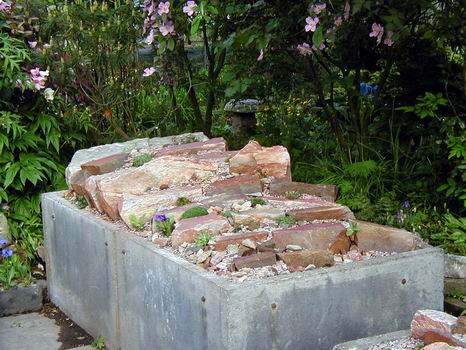
Bed 1 view 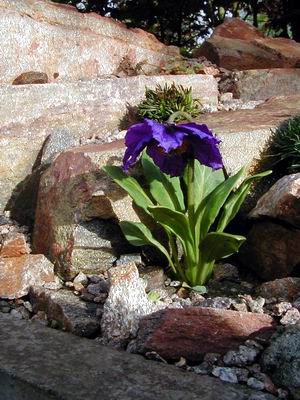
Meconopsis delavayi In bed 2 we used the large flat stones set on their edge. This time the crevices ran the length of the long side of the bed, again just off the square. 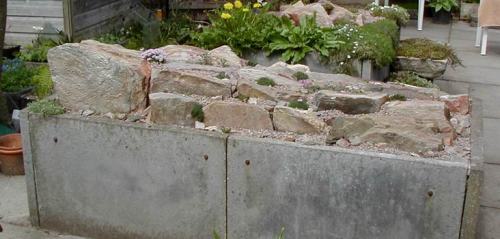
Bed 2 back The stones were set highest at the far end so that the best view was facing you from the path side 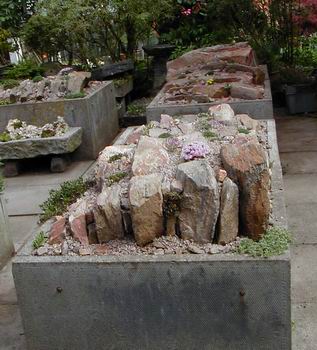
Bed 2 end Again some prime vertical planting sites have been created at the far end as well as all the long crevices on the top surface. 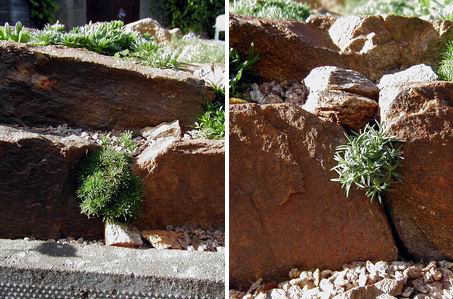
Crevice planting 
Bed 2 front By the time we got to bed 3 we had used up most of the best stone that we had bought from the quarry so we reused the stones from the previous incarnations that we had just dismantled. 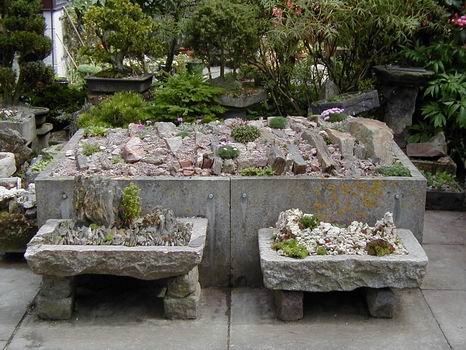
Bed 3 The stone does not rise up so far above the edge of the slabs but still provides plenty of crevices to plant up. 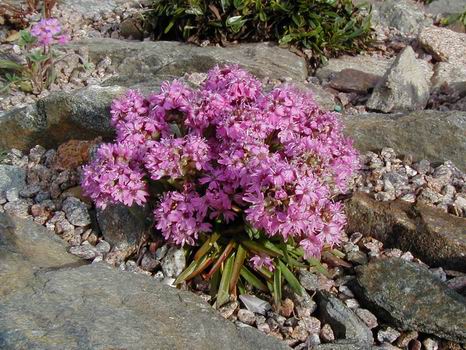
Lychnis alpina 
Bed 4 There are a few plants that we did not want to disturb at the moment in bed 4 so we gave it a partial make over instead of a complete renewal. Small covers made from perspex and weld-mesh provide shelter from the worst of the winter wet for some of the plants more use to being under a blanket of snow all winter. 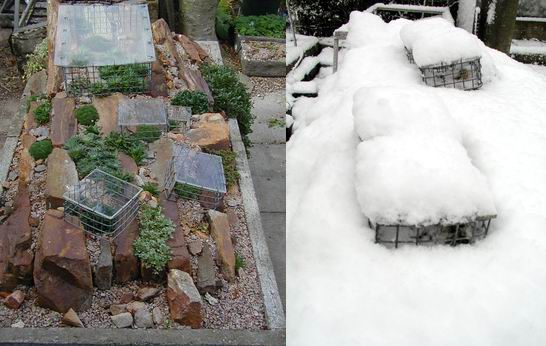
Perspex covers All the plants have done well so far and only time will tell how successful we will be in establishing some of the cushion plants that we used to grow in the alpine house before they were squeezed out by our growing collection of bulbs. So far the results are encouraging. 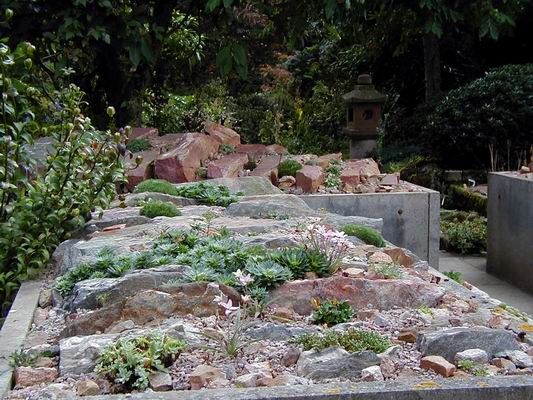
Establishing 
Sax stolitzkae We are sowing seed of many cushion plants directly into the crevices in the hope that they will establish better in that way, than they would being raised in a pot, then squeezed into a narrow crevice. We are pleased with the overall effect and look forward to seeing how the plants will fair in 2004. 
Gate view ^ back to the top ^ |