|
BULB LOG 36 -- 5th September 2007

Crocus speciosus
The start of the autumn flowering bulbs is a lovely time even though some of the blooms are fleeting. Unfortunately many of the autumn crocus are easily knocked over by the wind and rain but this does not spoil my enjoyment of them, in fact it makes them ever more precious.

Crocus speciosus flower
Even when they have toppled over I can still enjoy the beauty of their flowers. This is why it is a good idea toalso have some growing in pots under glass as they will be protected from the damage caused by the wind and rain.

Sternbergia bulbs
Seeing the first crocus flowers reminds me that it is now September and time for the first storm. These surplus Sternbergia bulbs which have been kept in dry sand are already making roots so I have carefully replanted them this is also a good indication that the bulbs know exactly what season it is and are now ready for root growth.

Corydalis solida
These Corydalis solida bulbs have also been stored but this time in moist leaf mould as they dislike drying out and while they are not making roots just yet they are extending their buds indicating that it is time I got all the stored bulbs replanted and watered in.
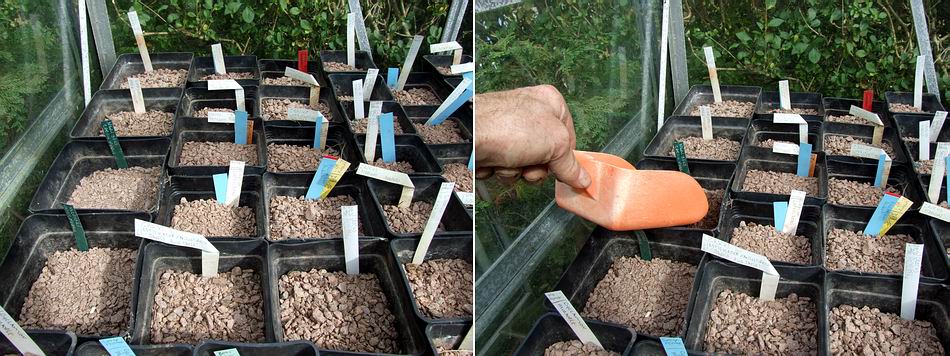
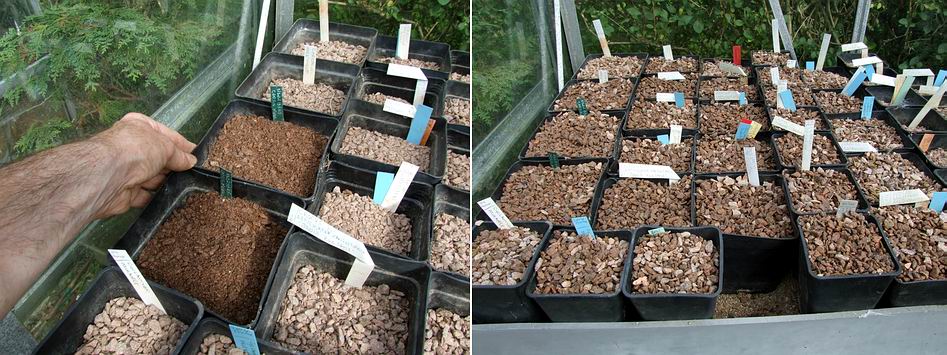
Topping off the compost
You will remember my compost was still a bit too damp for my liking when I re-potted the bulbs and so I did not fill all the pots to the top with compost and nether did I put on the gravel top dressing - this allowed the compost to dry out so the excess moisture would not rot the bulbs while they were dormant. Now it is time to fill all the pots up to the bottom of the rim with compost.
Adding gravel
I then levelled the pots and topped them off with gravel. All the pots are standing on a layer of sand but are not plunged in the way I used to plunge clay pots. These square plastic pots are 'self plunging' when placed side by side like this - that is they each help shade and protect each other from sudden swings in temperature. Paul Cumbleton has written a very good description of the proper way to build and stack a plunge in log 3 of his new Wisley Alpine Log on the SRGC Web Site - if you have the Bulb Log book-marked I suggest you do the same with the Wisley Alpine Log which will appear every fortnight
www.srgc.org.uk/wisley/wisleylog.html

Bulb house one side ready
Working through I now have all the pots on one side ready and will carry on until they are all top dressed and level. Unlike Paul at Wisley I cannot afford to leave space around each pot but I am in no doubt that his way is the ideal way to give each plant some space to grow without the fierce competition for air and light.
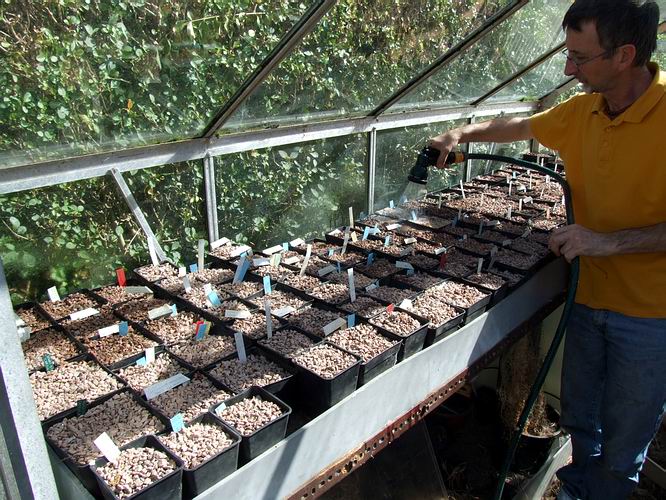
The first storm
Now all the pots are topped up it is time for me to deliver the first storm. It is extremely important that I water each pot until it is thoroughly soaked.

Flood each pot
Using the spray head on the hose pipe I flood each pot in turn until the water flows over the sides.
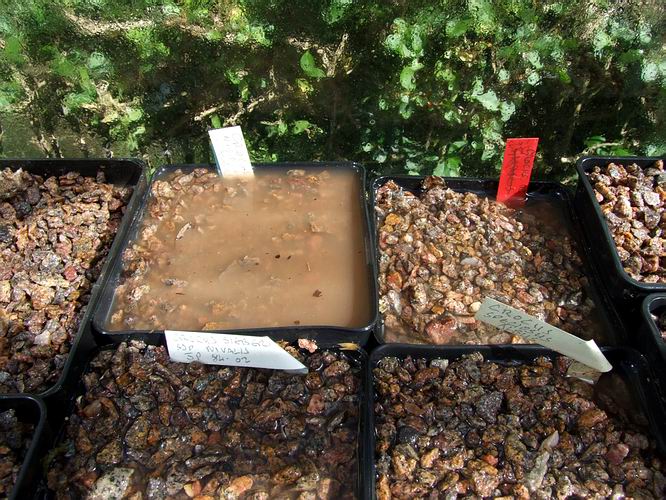
Draining after first soaking
After I have passed over the pots for the fist time some will drain at different rates. As the water passes through the new compost a drainage system starts to become established within the pots. As soon as I have worked my way all around the bulb house, I start back at the beginning and flood them all again. The drainage time should start to even up as the moisture penetrates all the compost and drainage pathways are formed so all the pots should drain in the same time.

Water again
After I have watered the next bulb house I will go back and water for a third time flooding all the pots to ensure that the compost is soaked all the way through and the drainage is even.

Draining at different rates
If the pots are still draining at different rates you will have to water again - that is assuming that you have the same compost mix in each pot. But now all my pots are draining very quickly and evenly, indicating to me that my potting mix is free draining and that it should be wet all the way through. I have not watered the frit house yet for two reasons: firstly I have not quite finished re-potting all the ones I want to yet and secondly I think that the frits root that wee bit later especially if the temperatures are still on the warm side. Part of the reason that the bulbs know where we are in the season is by the falling temperature so if your temperatures are not falling much as yet, wait a week or two until it does before you water. There are some frits which are the exception and require a slightly different regime such as the Chinese ones these are making roots now and some have been since I re-potted them in July - I have been keeping them just moist since then.

Tessellated Colchicum flowers
There has been much discussion and admiration of this lovely tessellated colchicum hybrid in the forum recently. It is a wonderful plant which we got many years ago from an old garden: it came in a bag along with a very good dark purple one which flowers a bit later.
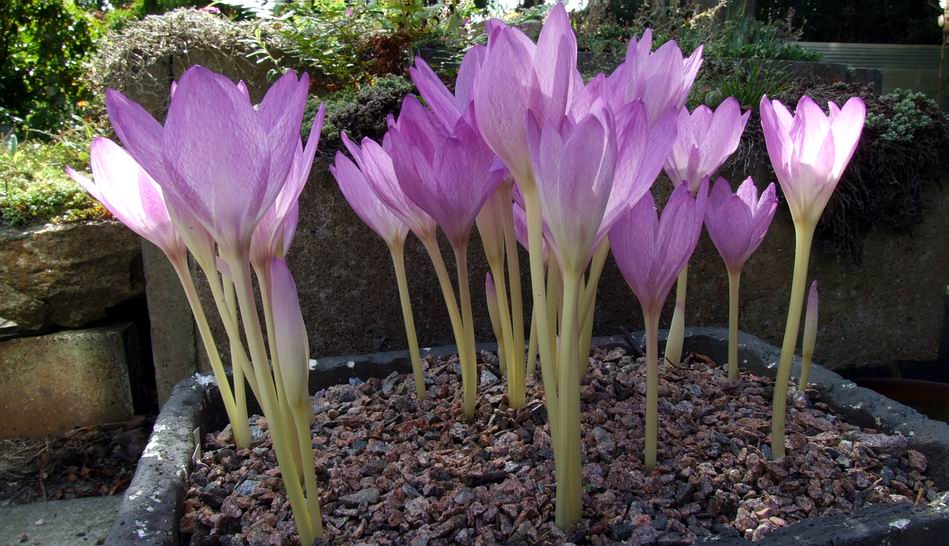
Colchicum tessellated hybrid
It is among the first of the Colchicums to flower in our garden and increases very well if it is split up regularly. To aid the increase and to make it easy to split every year we always grow some in a deep polystyrene box. Obviously it is close to C. bivonae and I know that it must have a cultivar name but as I cannot be sure what that is and I do not want to distribute it with the wrong name, I just call it our 'tessellated hybrid'.
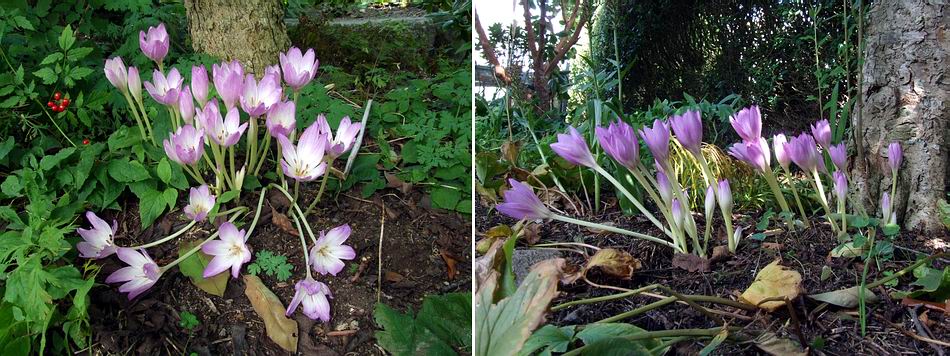
Colchicum in garden
In the garden we grow the larger colchicums at the base of the trees and that way their often maligned leaves are very welcome when they appear as not many other plants will tolerate being planted so close to the trunk of a tree.
^ back to the top ^
|
